Building Nocturne Observatory
This page chronicles the construction of Nocturne Observatory. Click the section headers to expand them.
▶
Before Construction
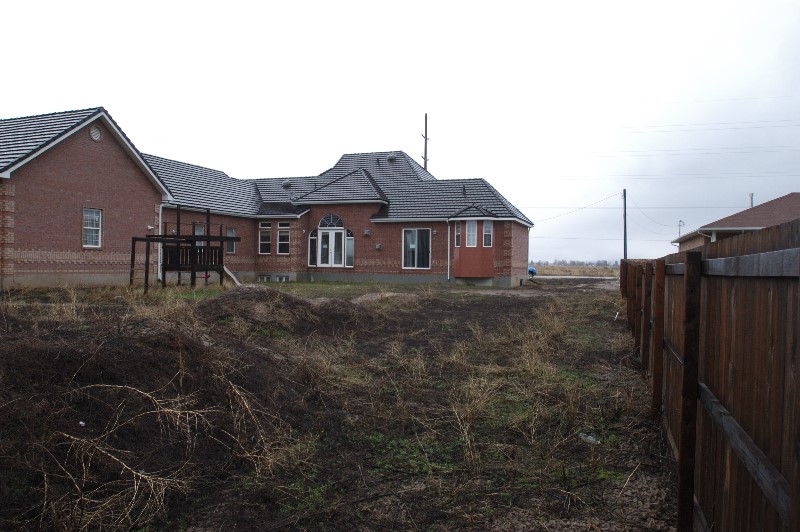
This was the view of the observatory site when we bought the home. I needed to put in a yard before I could entertain the thought of building an observatory. The wooden fence line is running North.
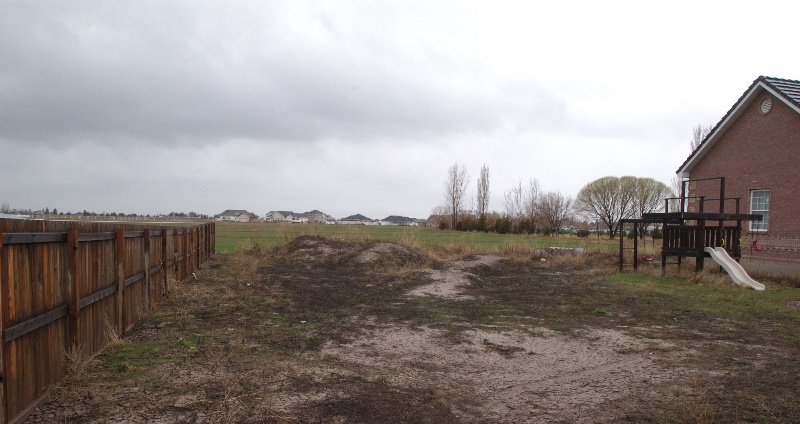
This was the view looking South when we bought the home. It has a nice low South horizon, but the yard needed some attention.
▶
Footers, Pier, and Floor
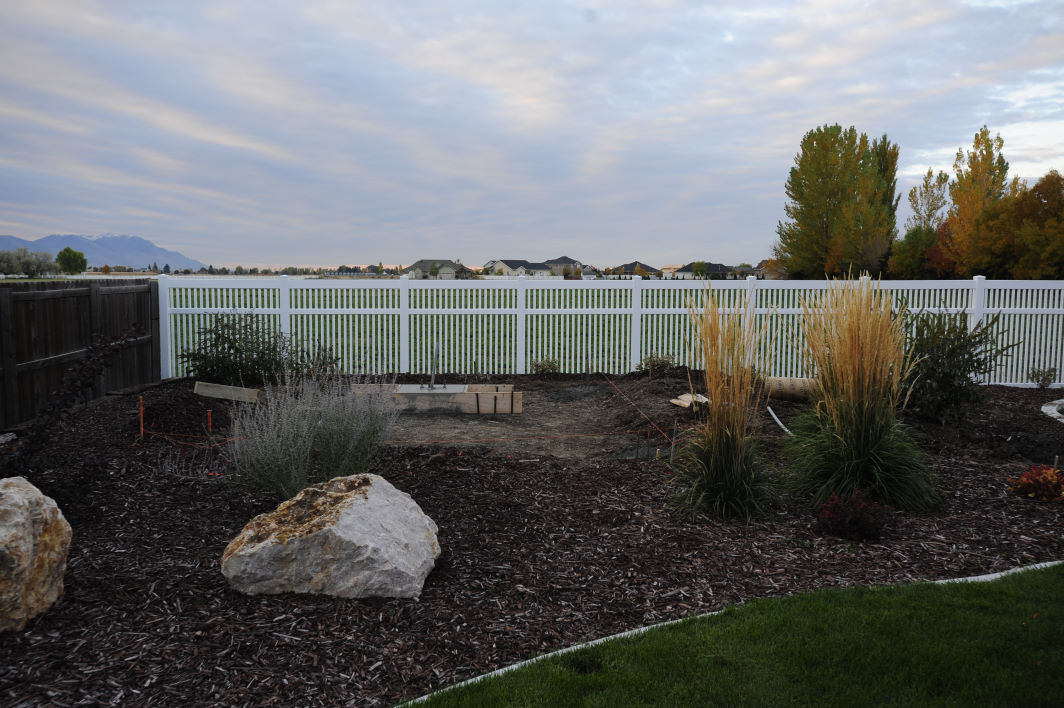
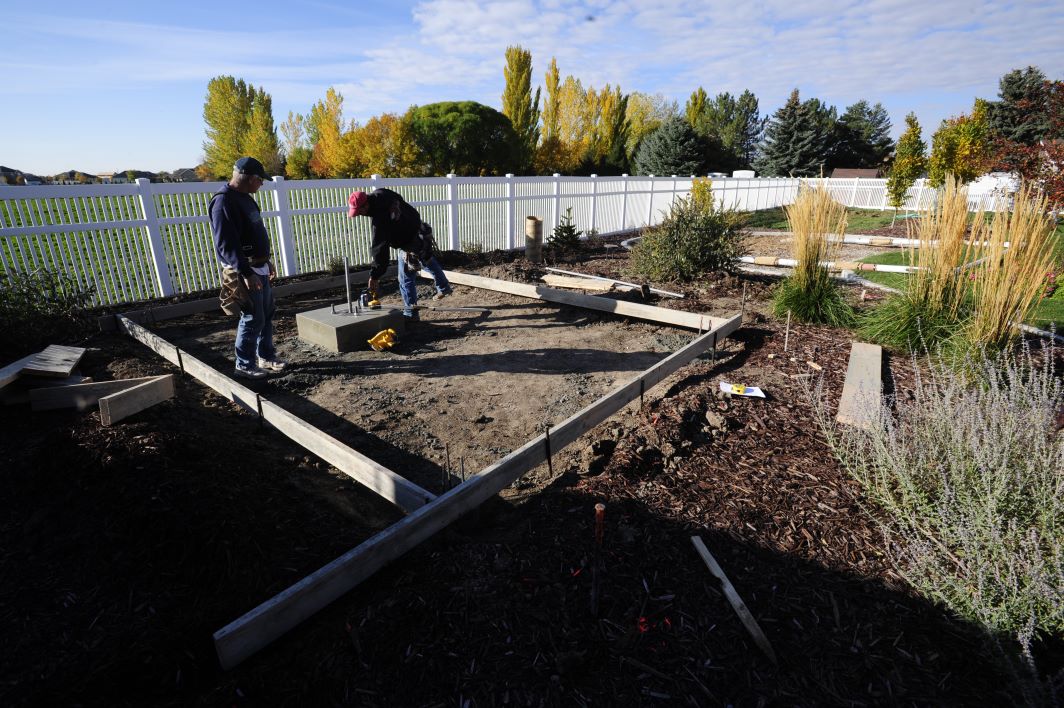
A view of the site with the pier and footers poured. This view is looking South.
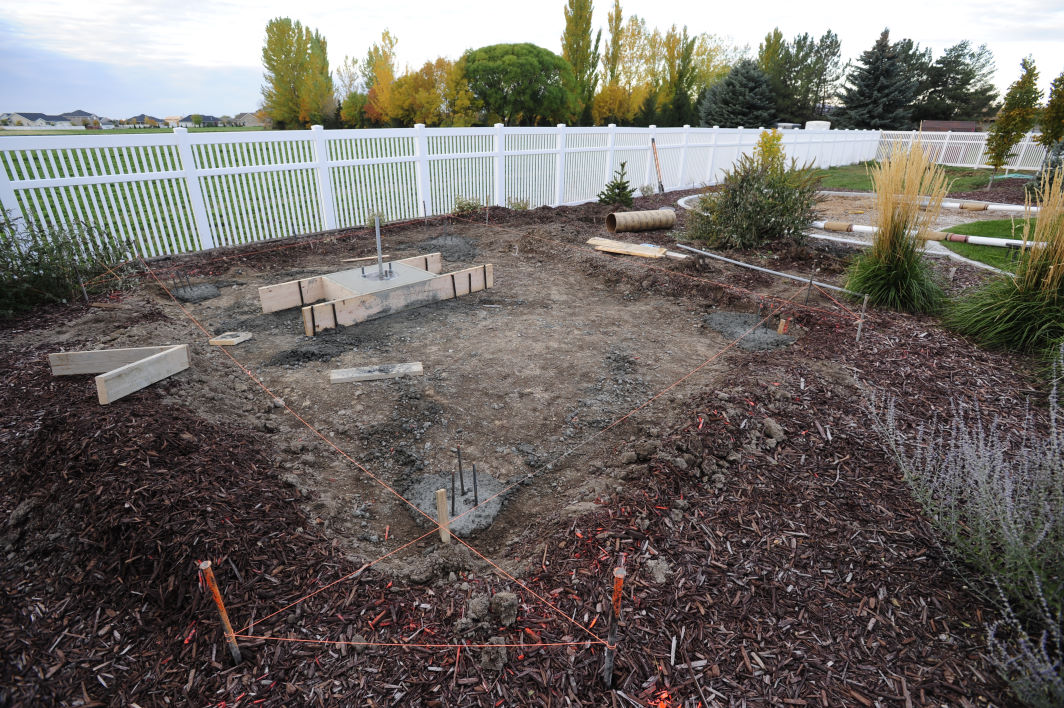
The observatory site with pier poured and 4 foot deep corner supports poured.

The footing for one of the roll-off roof support beams... And yes, that is my belly and foot... :)
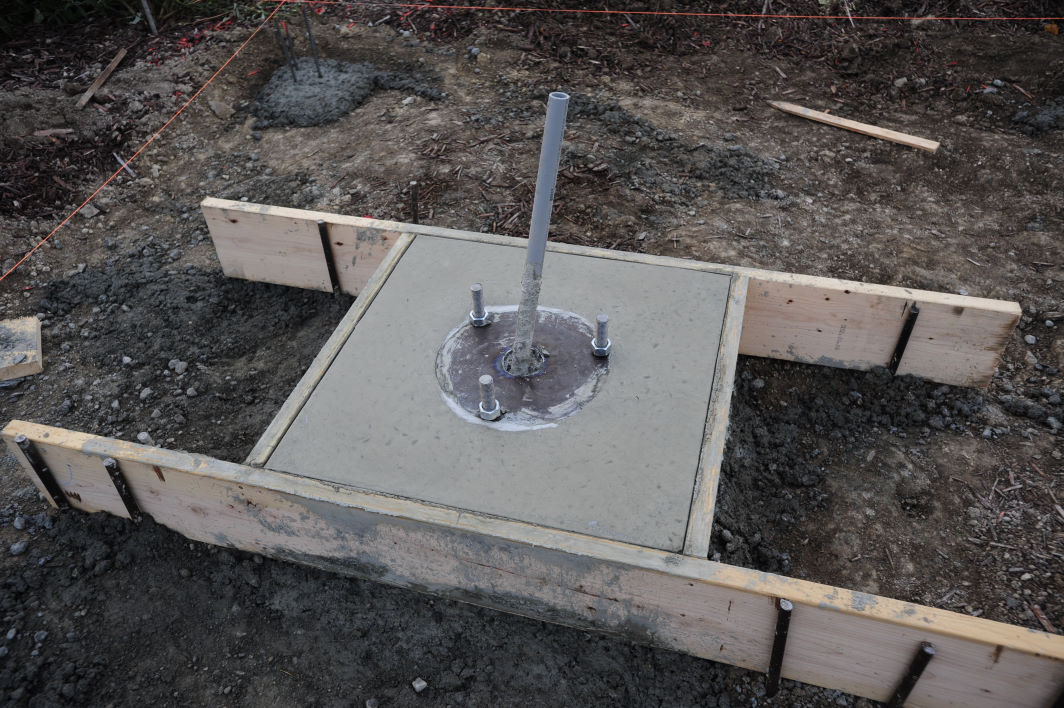
This image shows the pier block with the steel plate and attachment bolts for the pier. These bolts are welded to the plate and go down into the concrete roughly 18 inches, where they bend for three inches to prevent any movement of the plate. These bolts will be used to level the 8.25 inch LeSueur pier. The photo also shows the electrical conduit that will bring power to the mount.
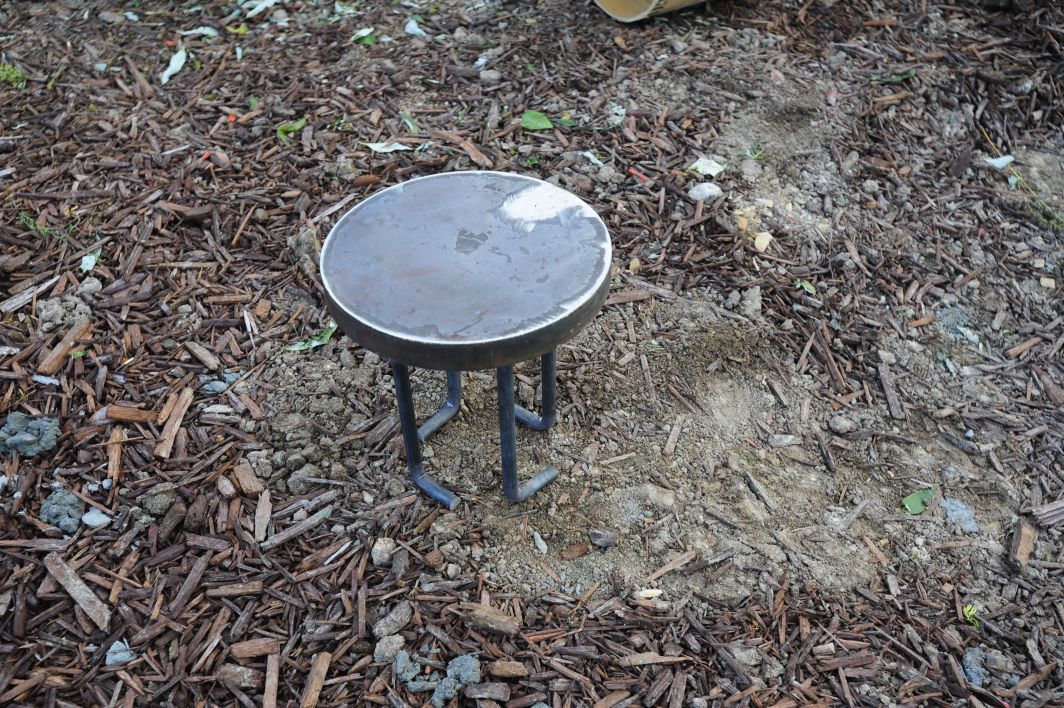
This is the steel topper for the roll-off roof supports. The "L" bolts will hold the top plate firmly into the cement, and the 1" top plate will give an excellent surface for welding metal posts, or mounting a bracket to hold wooden posts. At this point, I am still debating which to use.
The forms for the main pour... Approximately 4 inches of gravel were placed prior to the main pour.
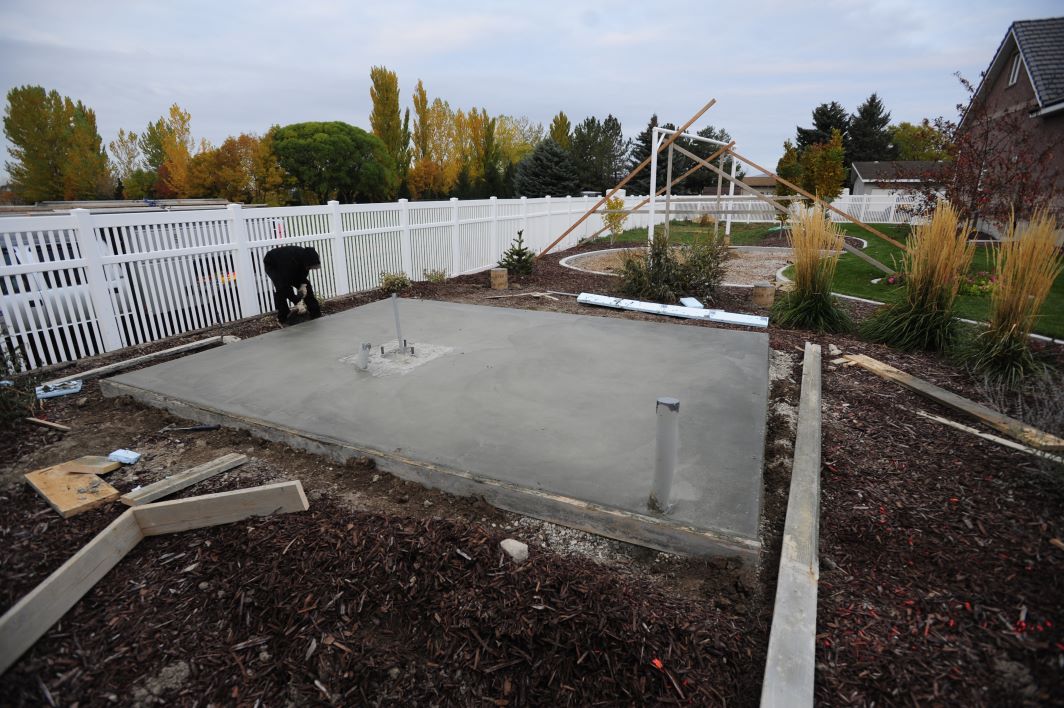
The pad after the main pour... Notice the 3" pipe that was installed to allow cable to pass under the pad from the pier to the corner where my desk will be placed. The two roll-off roof supports are also visible in the image.
(Note: The white post in the background is our new swing set support, which we poured at the same time as the observatory pad.)
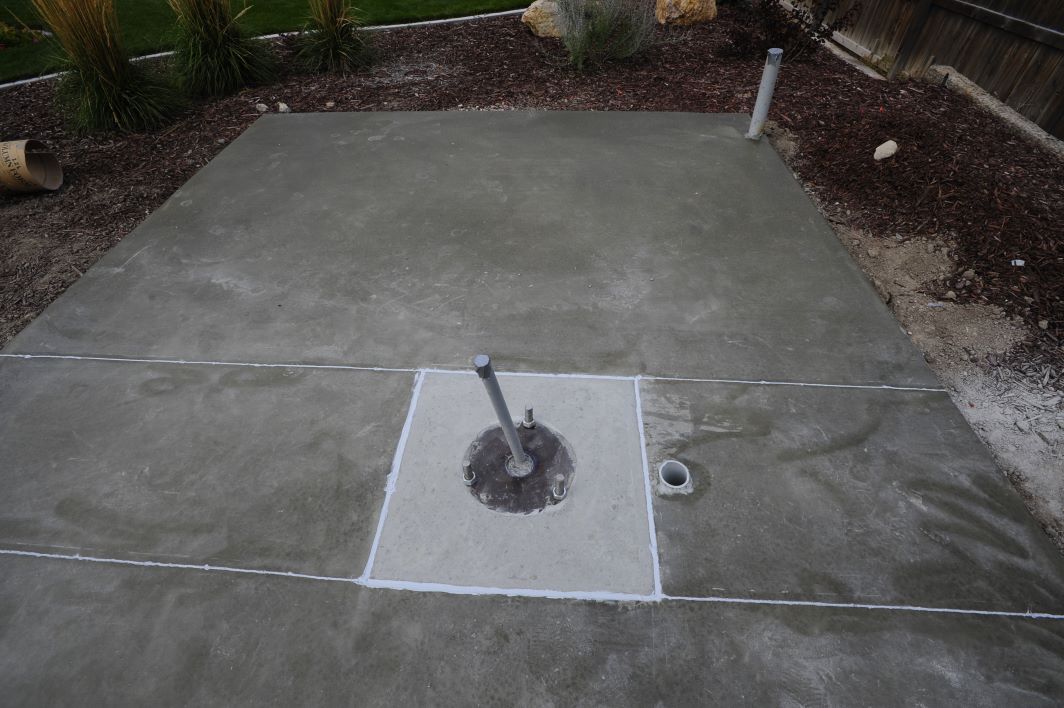
The pad with the pier plate, 3" cord pipe, and power conduit in place... Saw cuts were made to prevent breakage. The pier block is 30x30 inches, and is 36 inches deep.
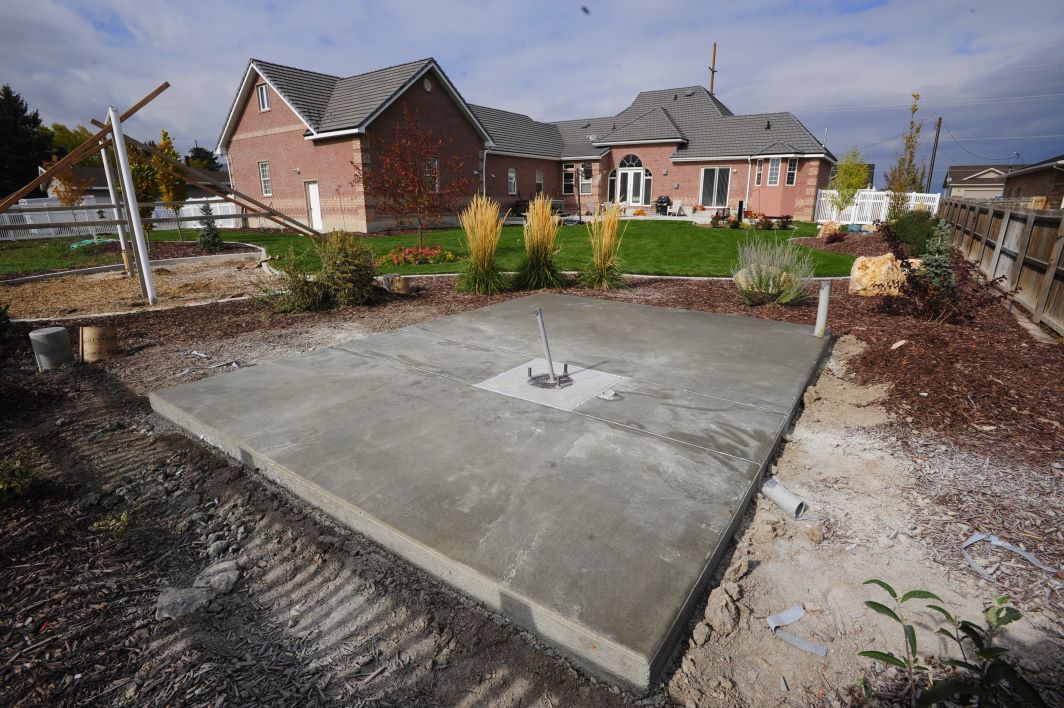
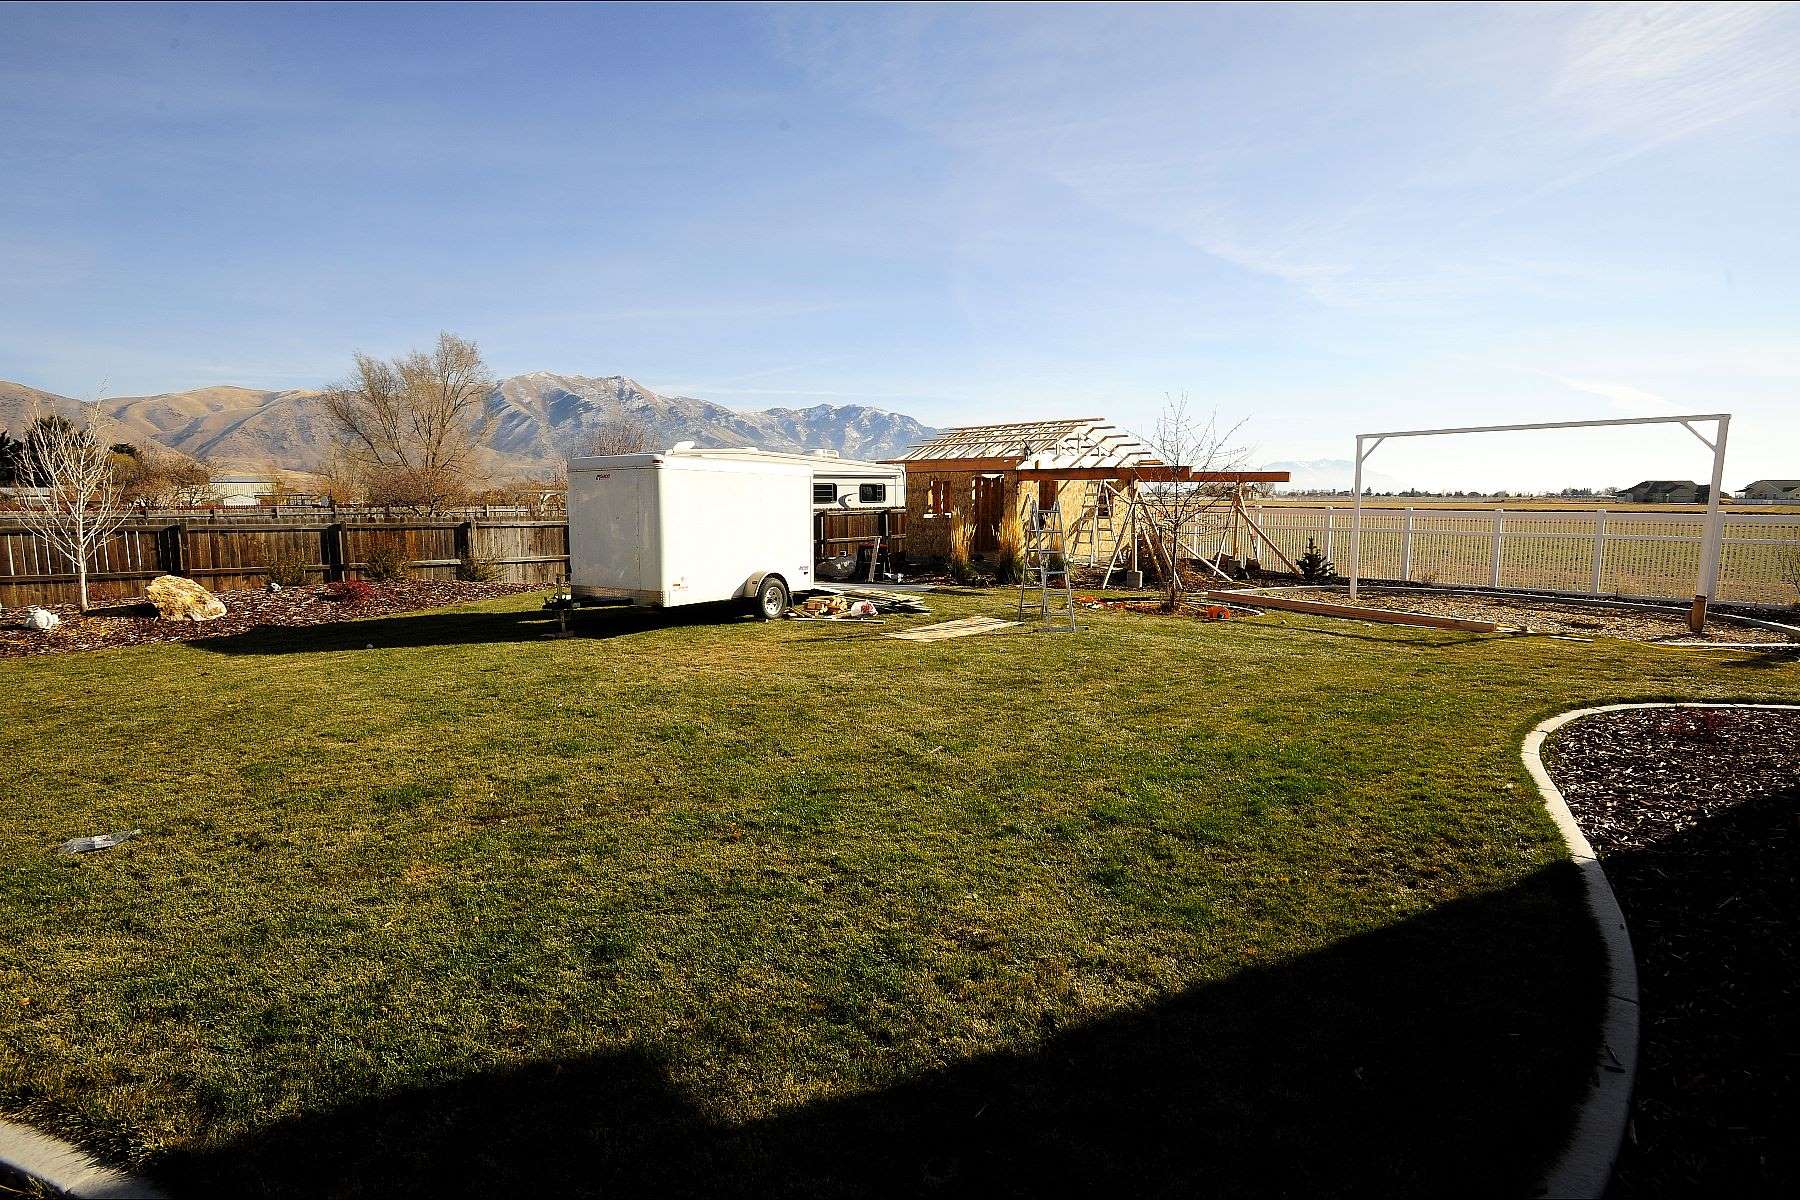
The view looking toward the house... Notice that we did some work in the yard since those early photos.
(Note: The other construction on the left of the image is our new swing set pole, which we poured at the same time as the observatory pad.)
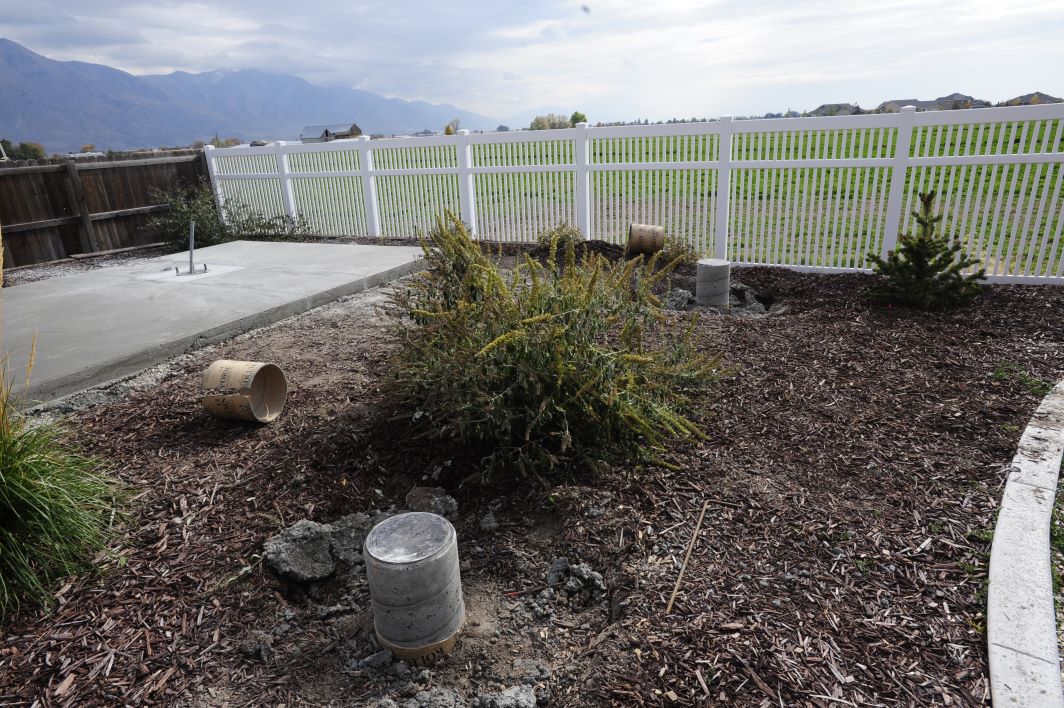
This view shows the roll-off roof supports that were poured in sono-tubes with the steel topper installed. The elevation of the support toppers is the same as the top of the concrete pad.
▶
Framing and Walls
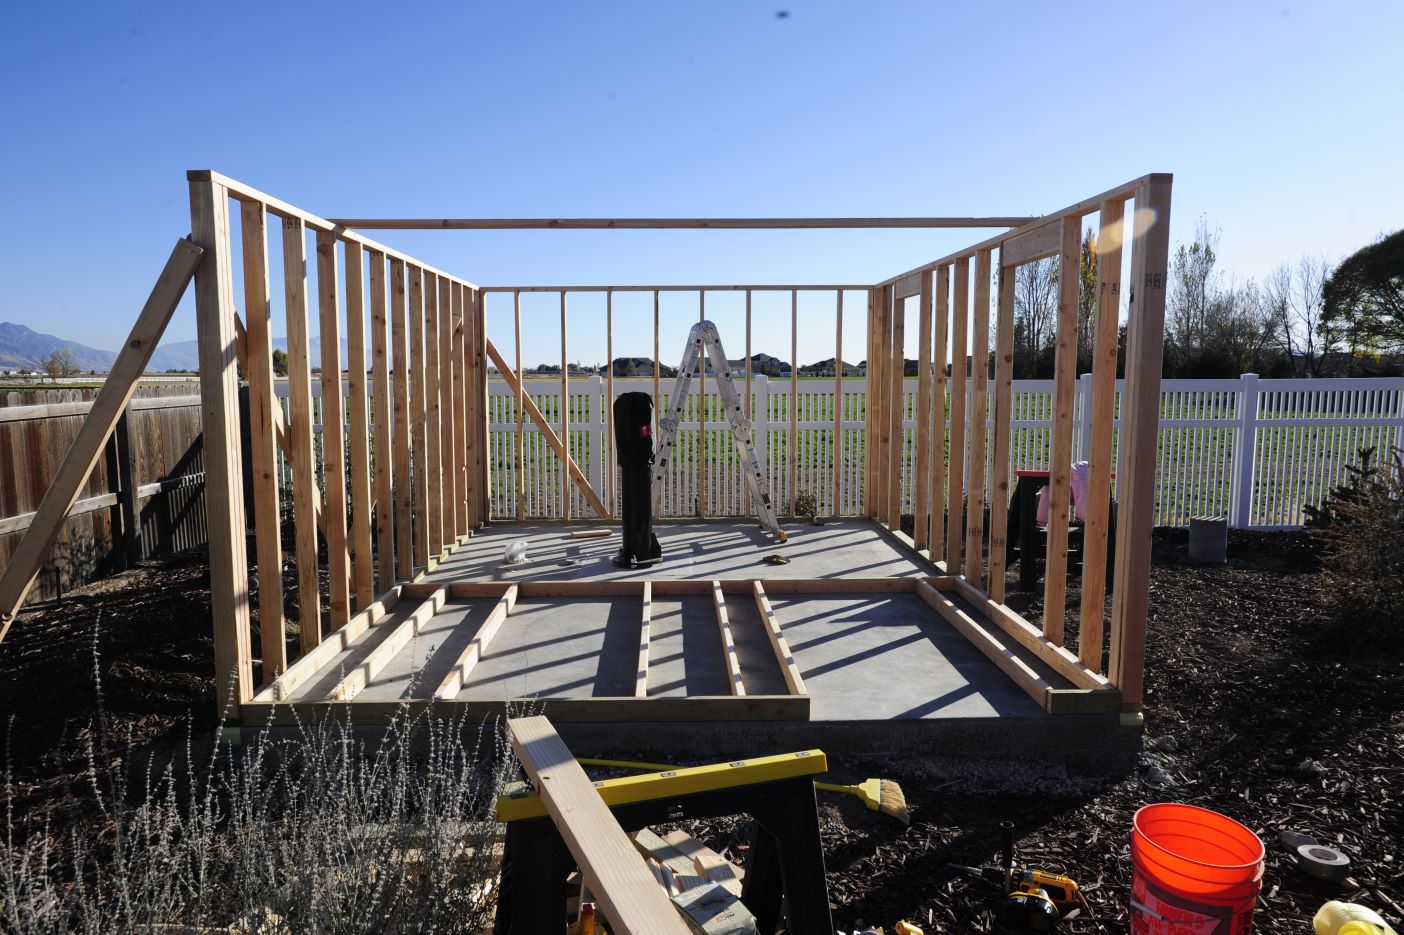
South facing view of the wall framing.
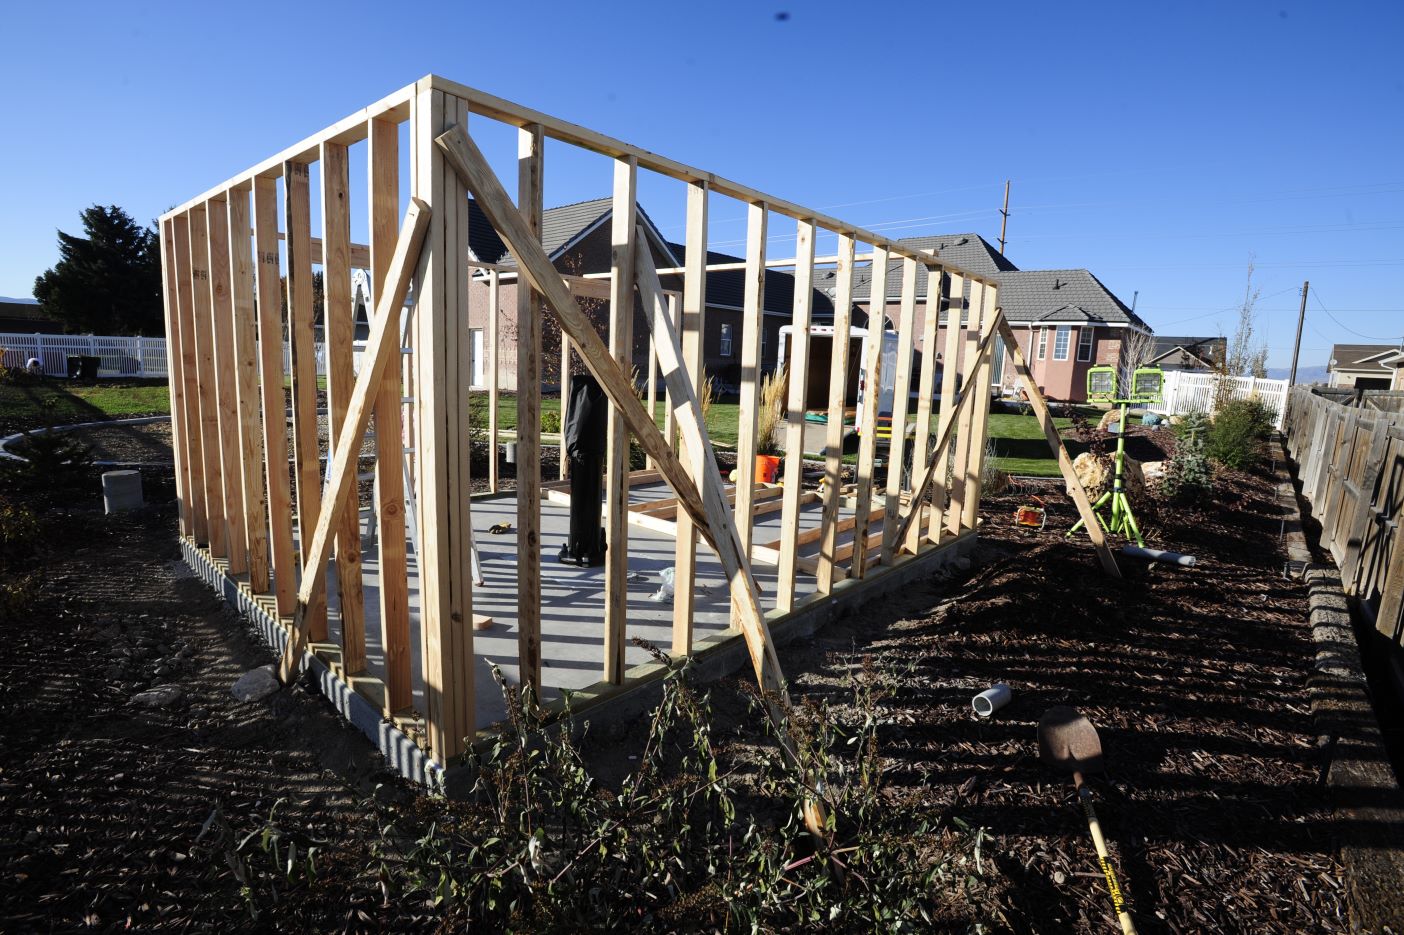
Northwest view of the wall framing, looking toward our home.
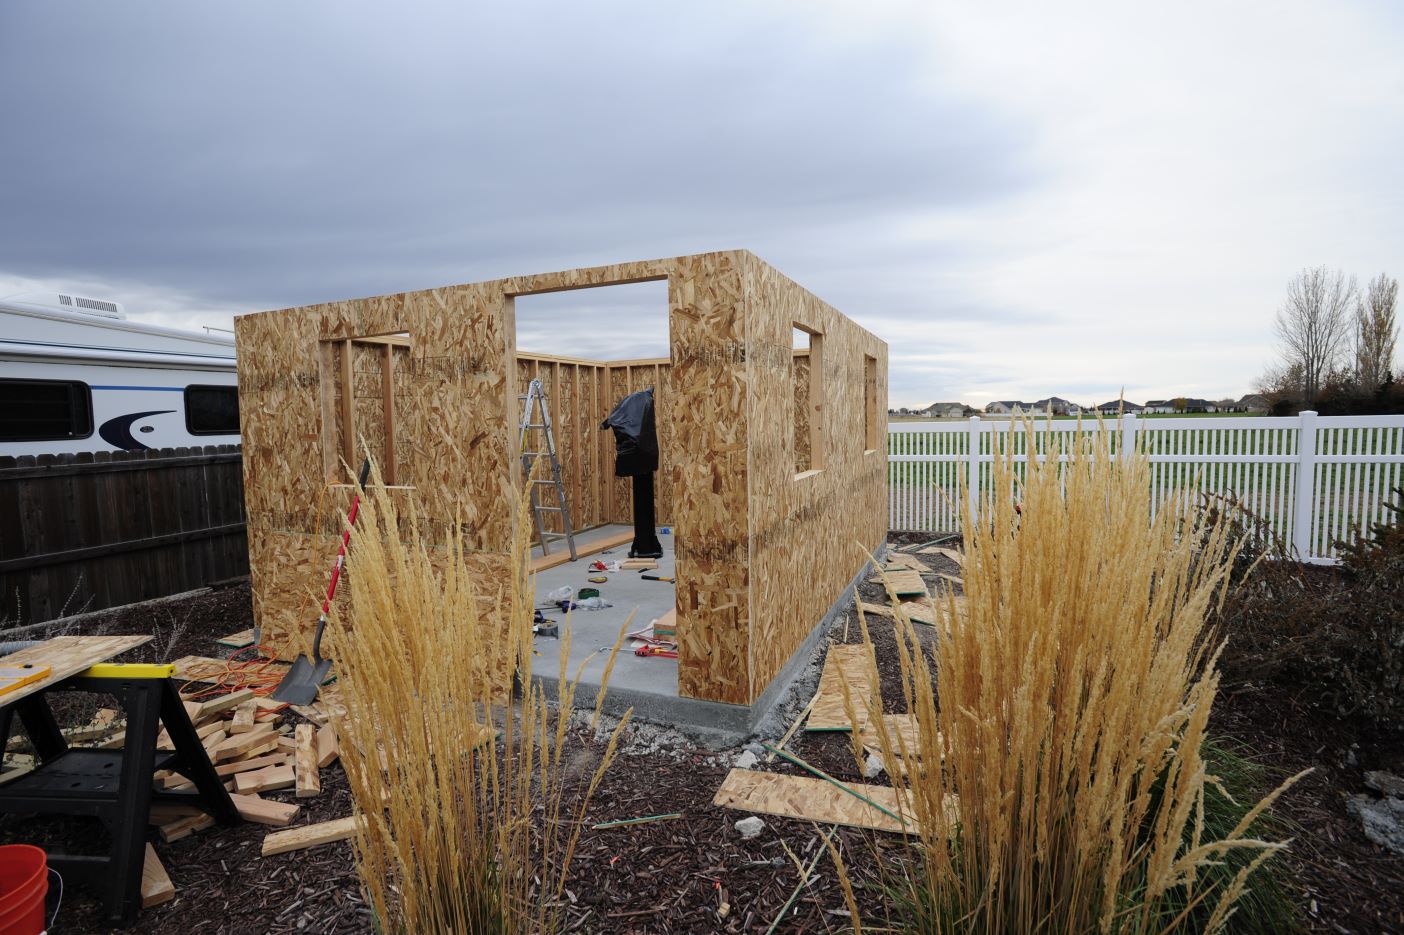
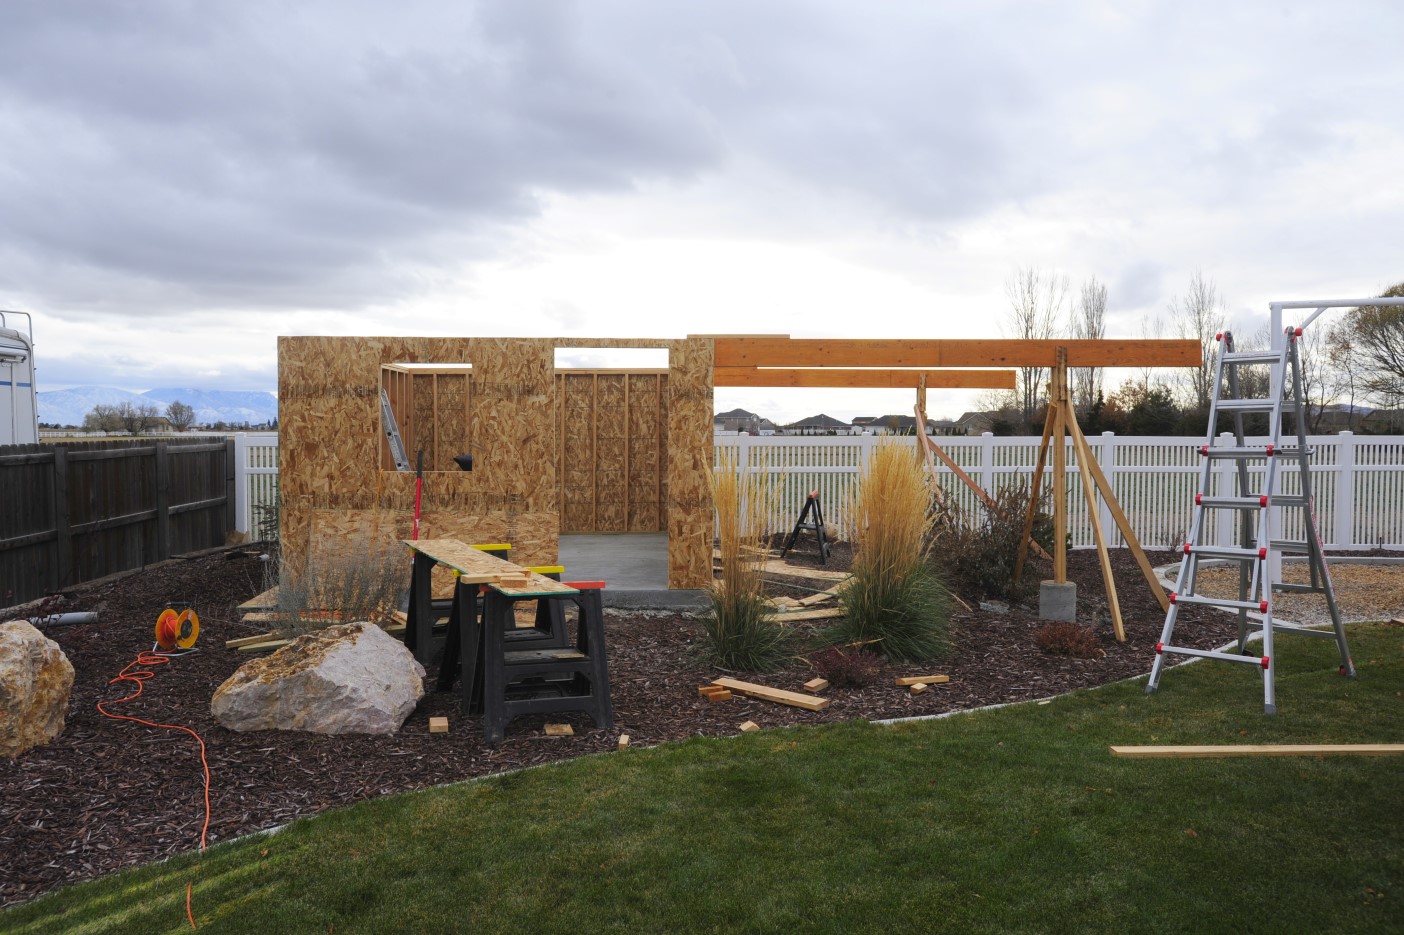
Southeast view of the exterior wall sheeting.
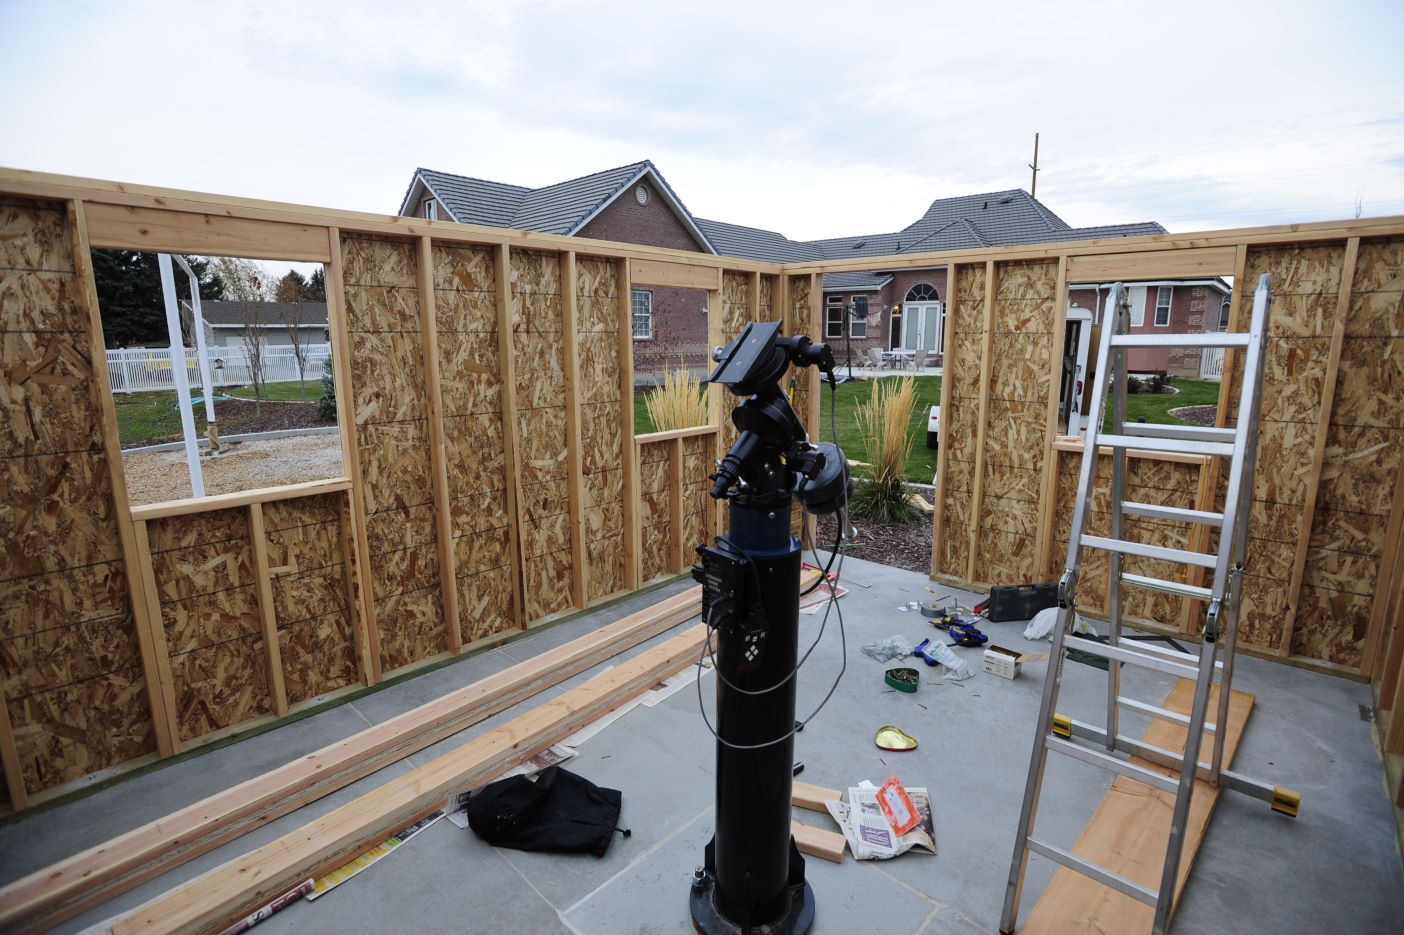
Northwest view of the interior walls with 3 window openings and the door opening.
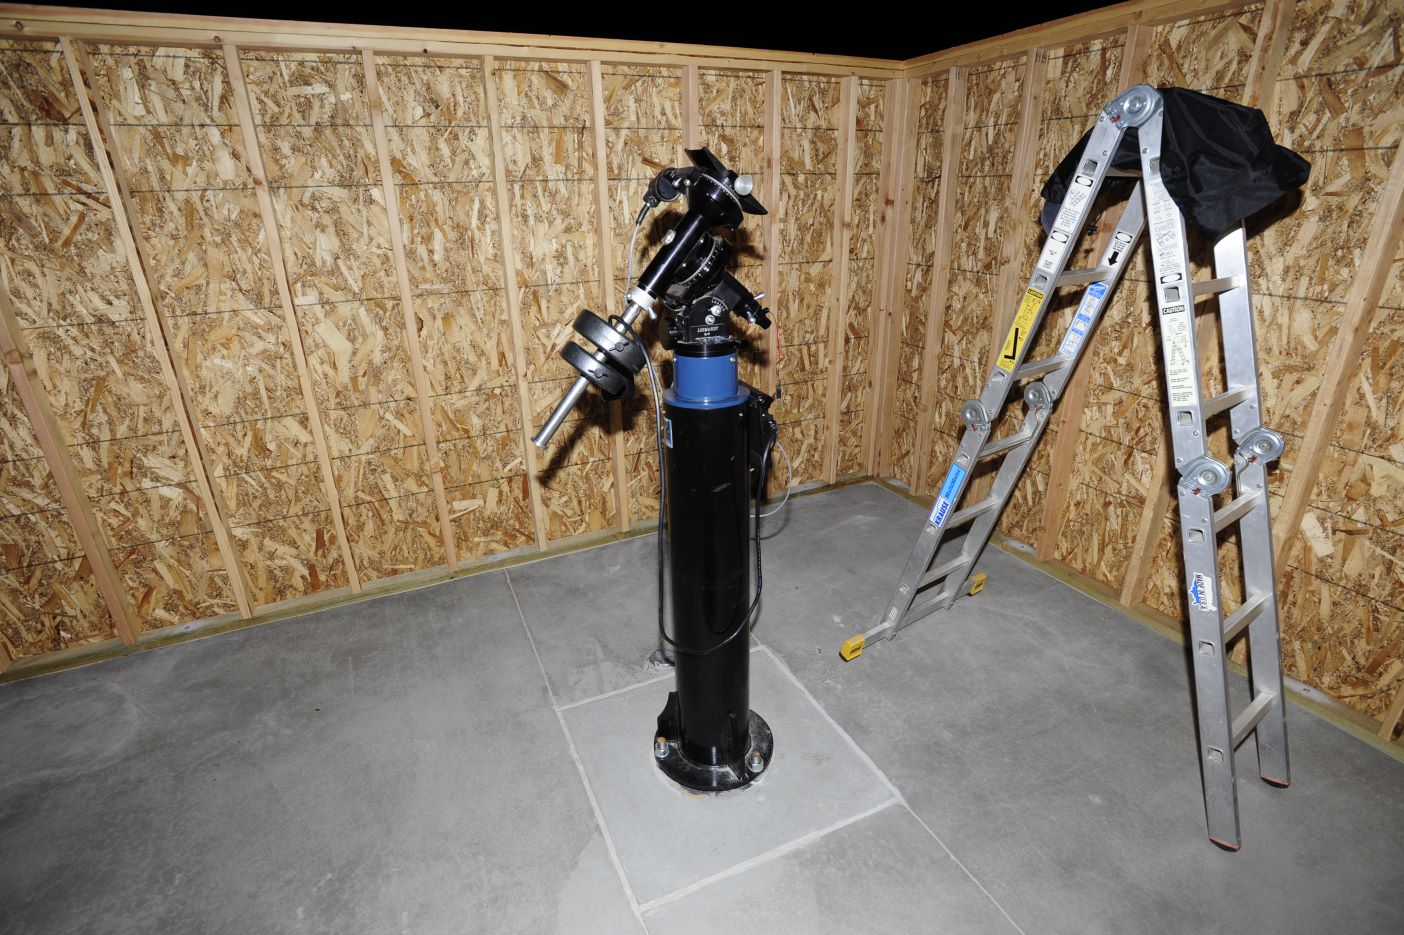
The isolated pier block with Le Sueur pier and Losmandy G-11 mount.
▶
Roll-Off Roof
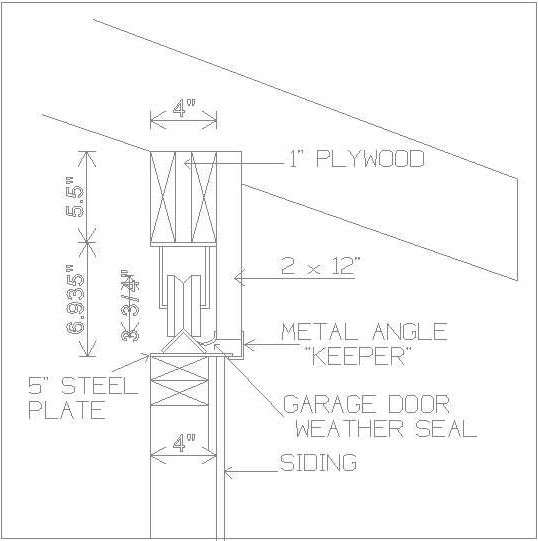
Design details of the joint between the roof and walls, including the metal angle keeper that extends the length of the horizontal beams. This design was graciously sent to me by Dean at the "Doghouse Astronomy" website. His excellent website can be found at: www.doghouseastronomy.com
Many thanks to him for the great ideas.
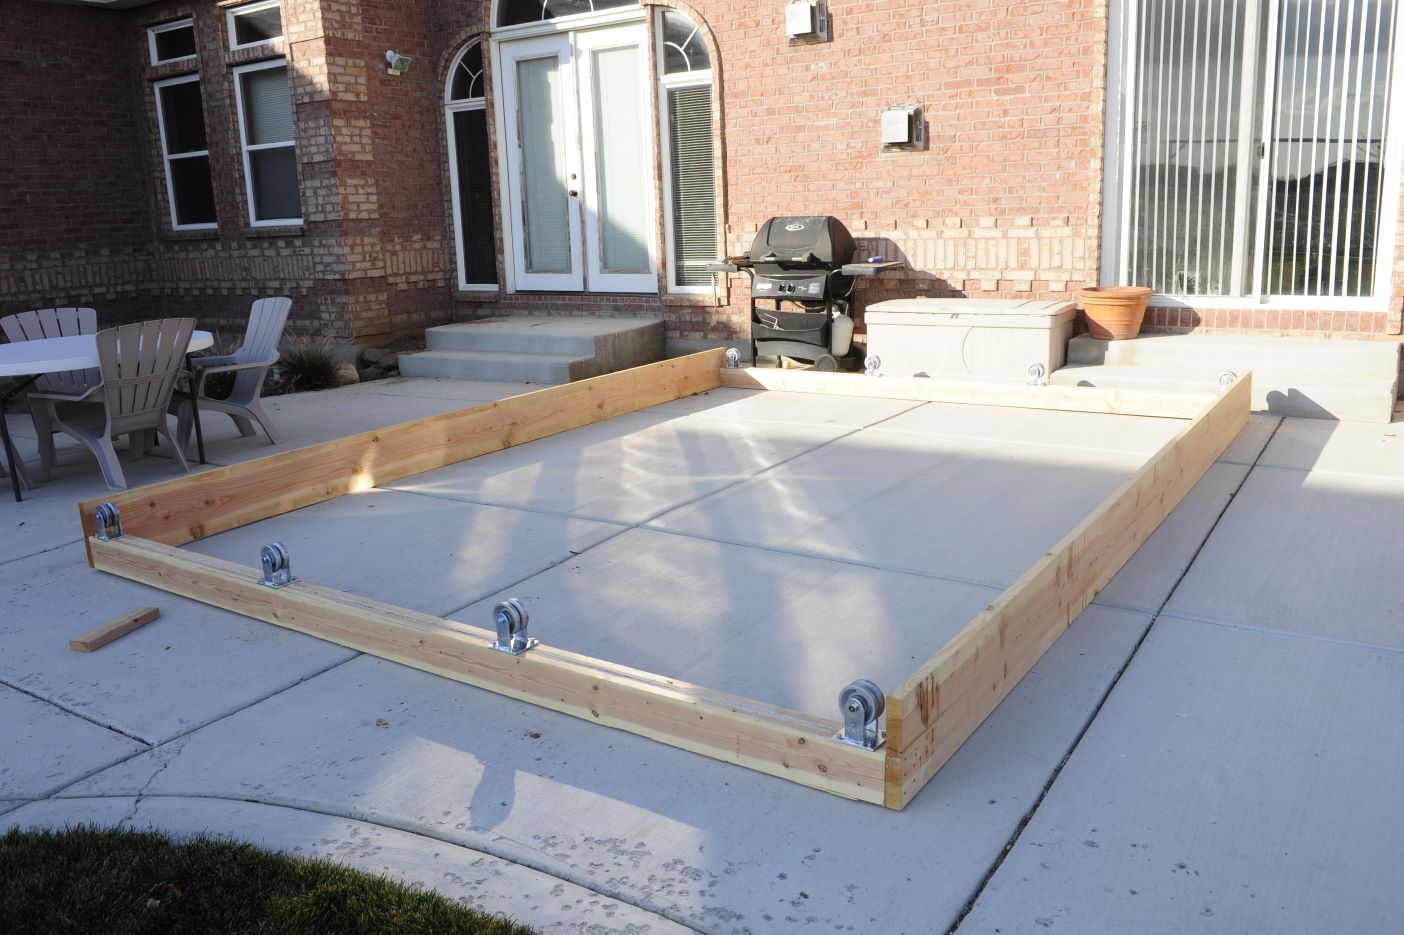
The roll-off roof box with rollers installed.
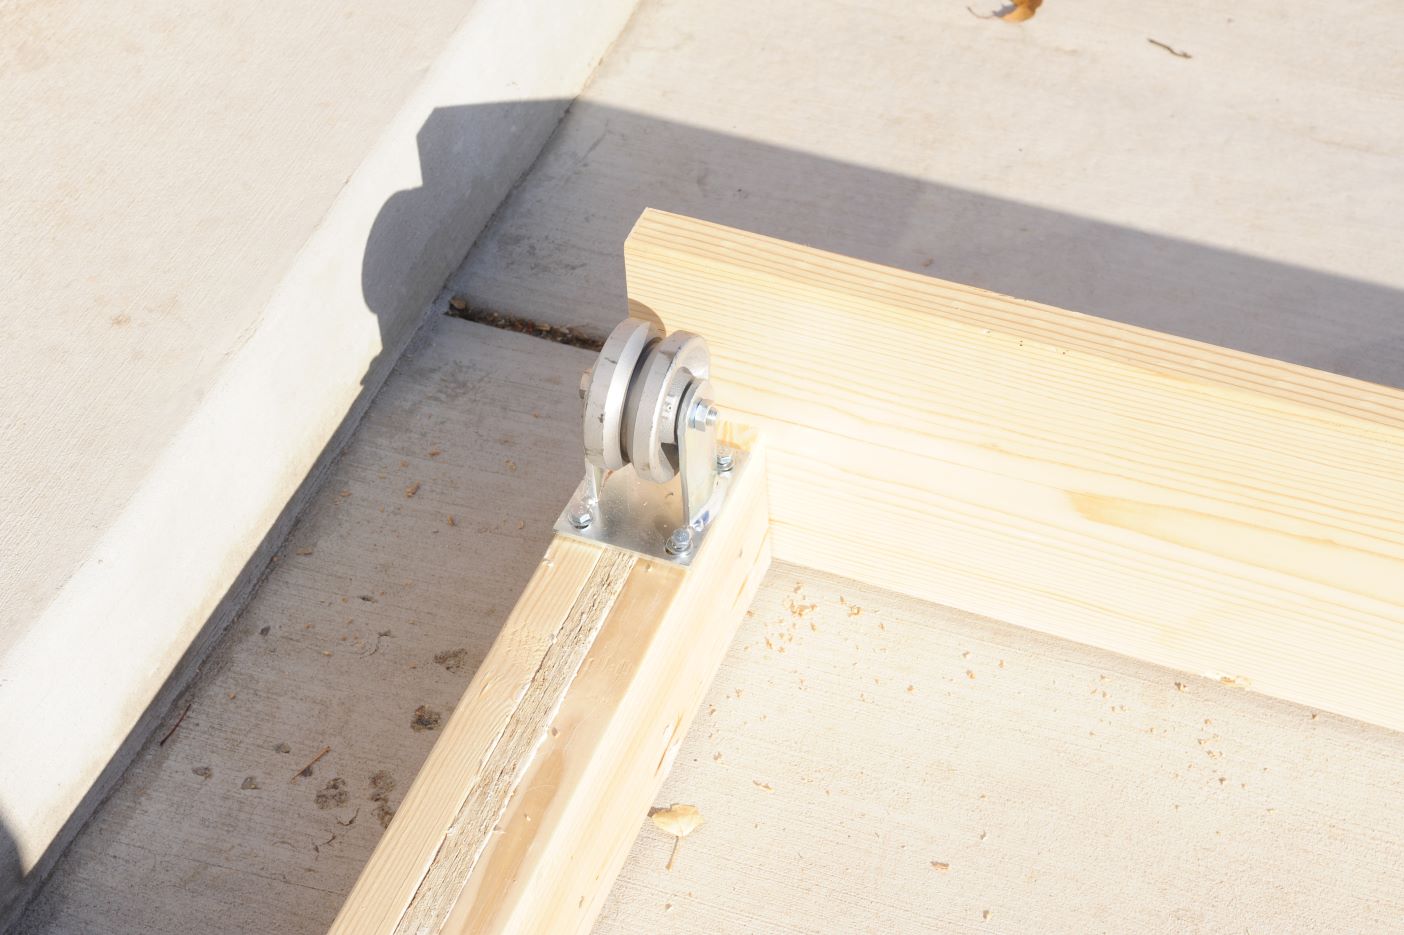
Cast iron ball bearing rollers from Albion.
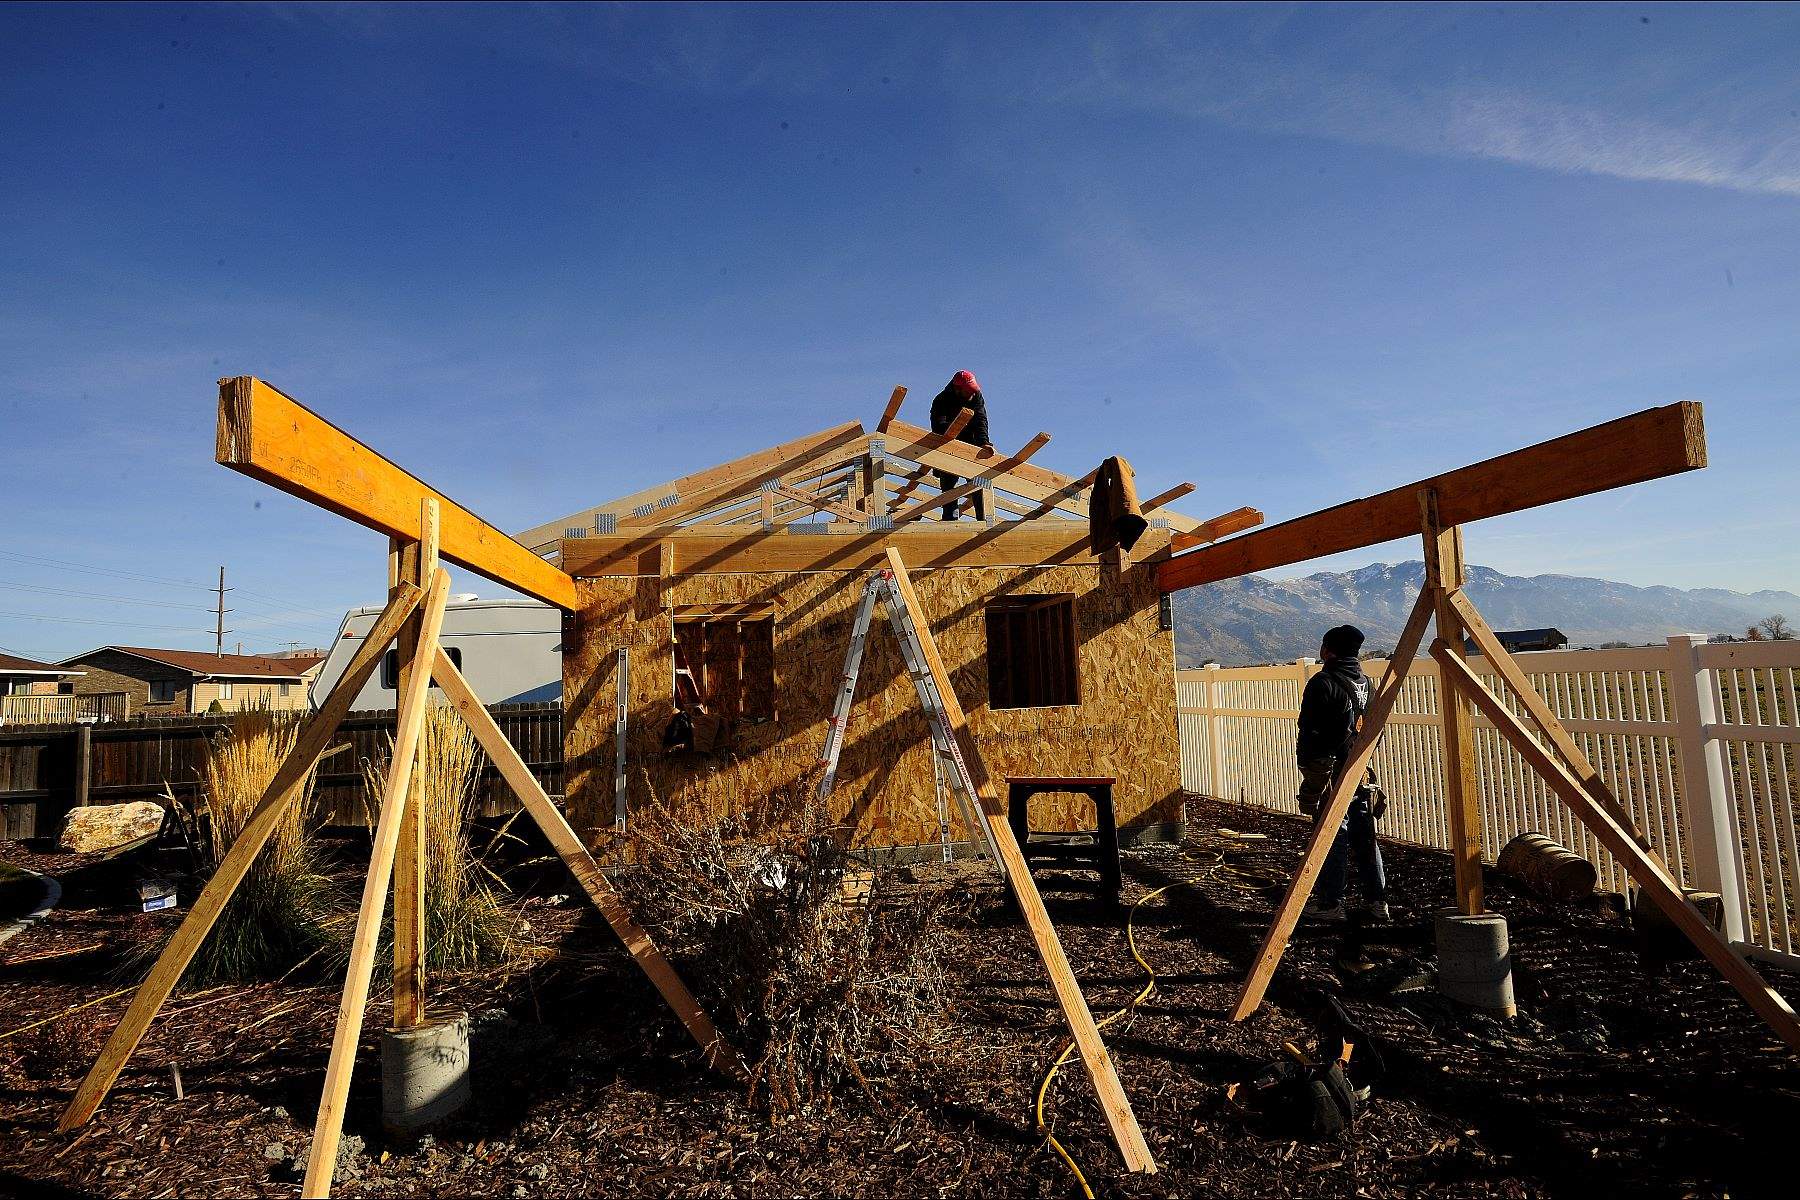
Horizontal beams installed on temporary supports, looking South...
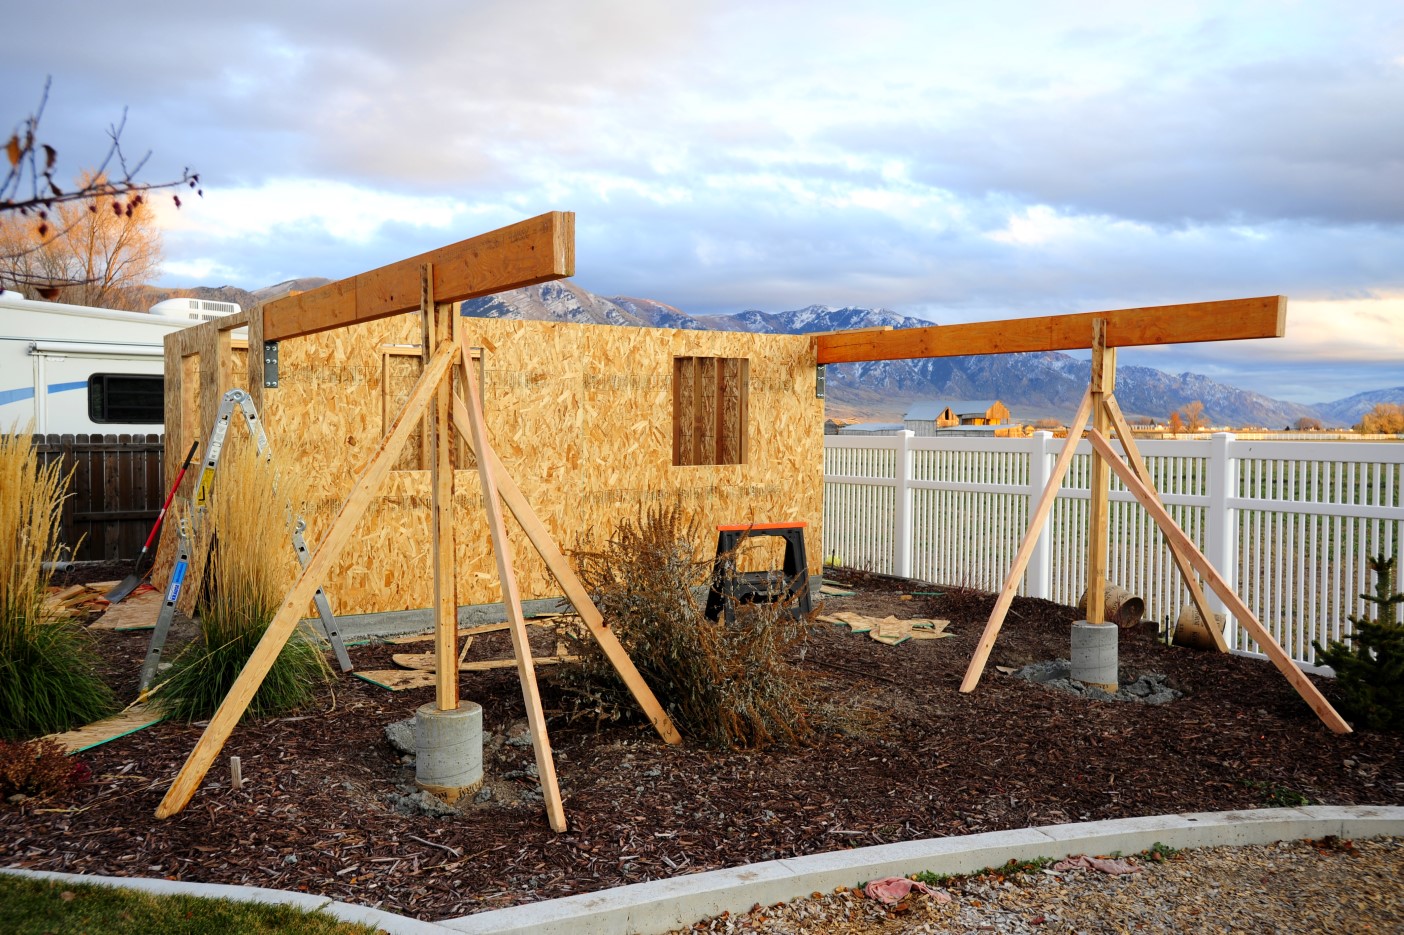
View of the beams on temporary supports, looking East-Southeast...
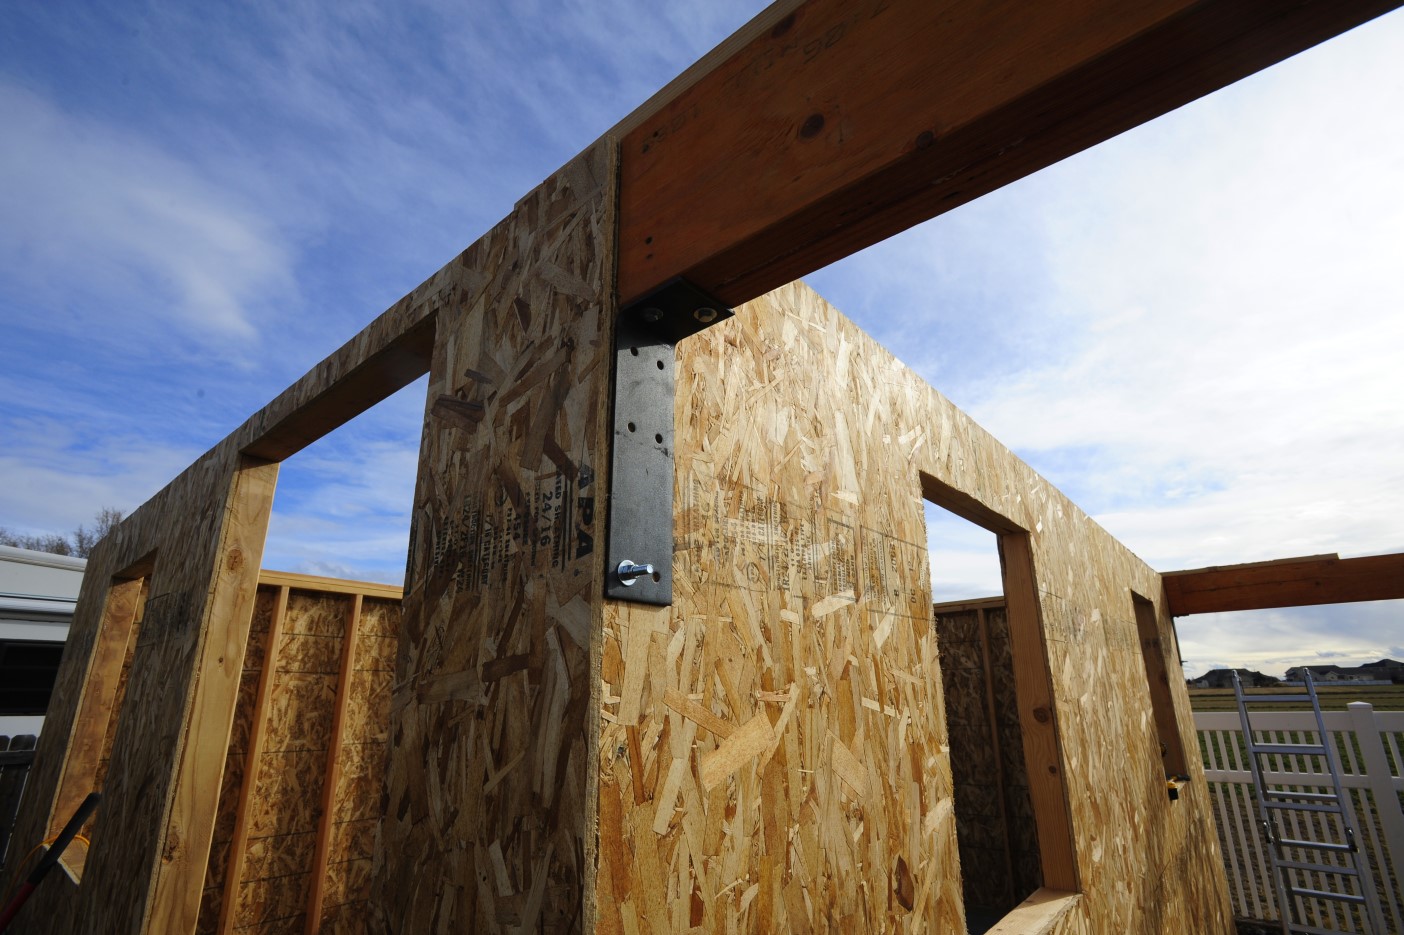
Installing the 1/4-inch thick steel "L" brackets to attach the beams to the structure...
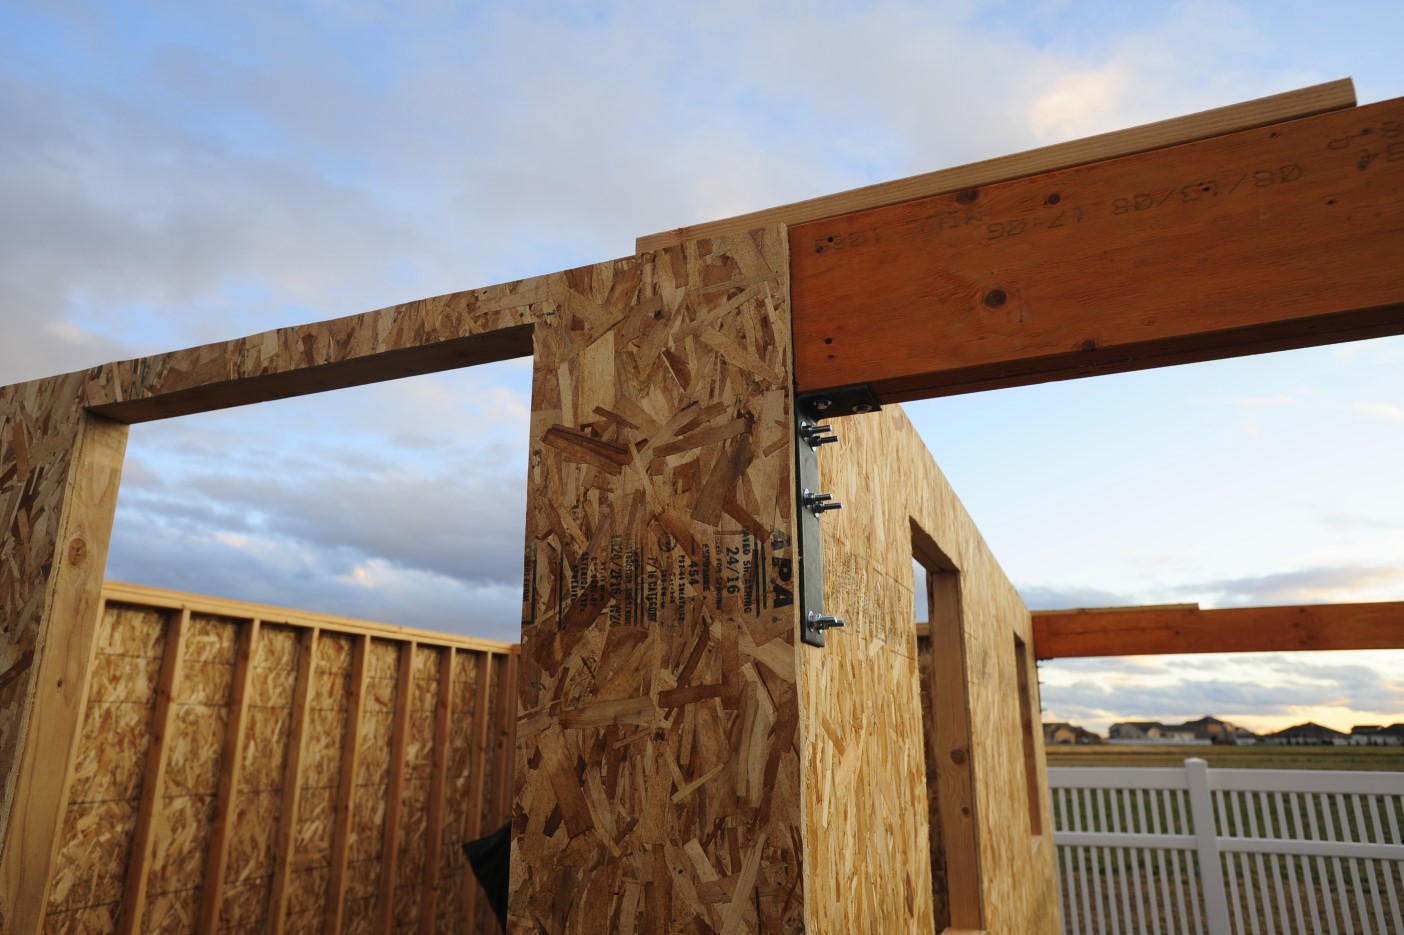
The support brackets installed...

Installing the roof box and rollers on the steel flats and angle iron...
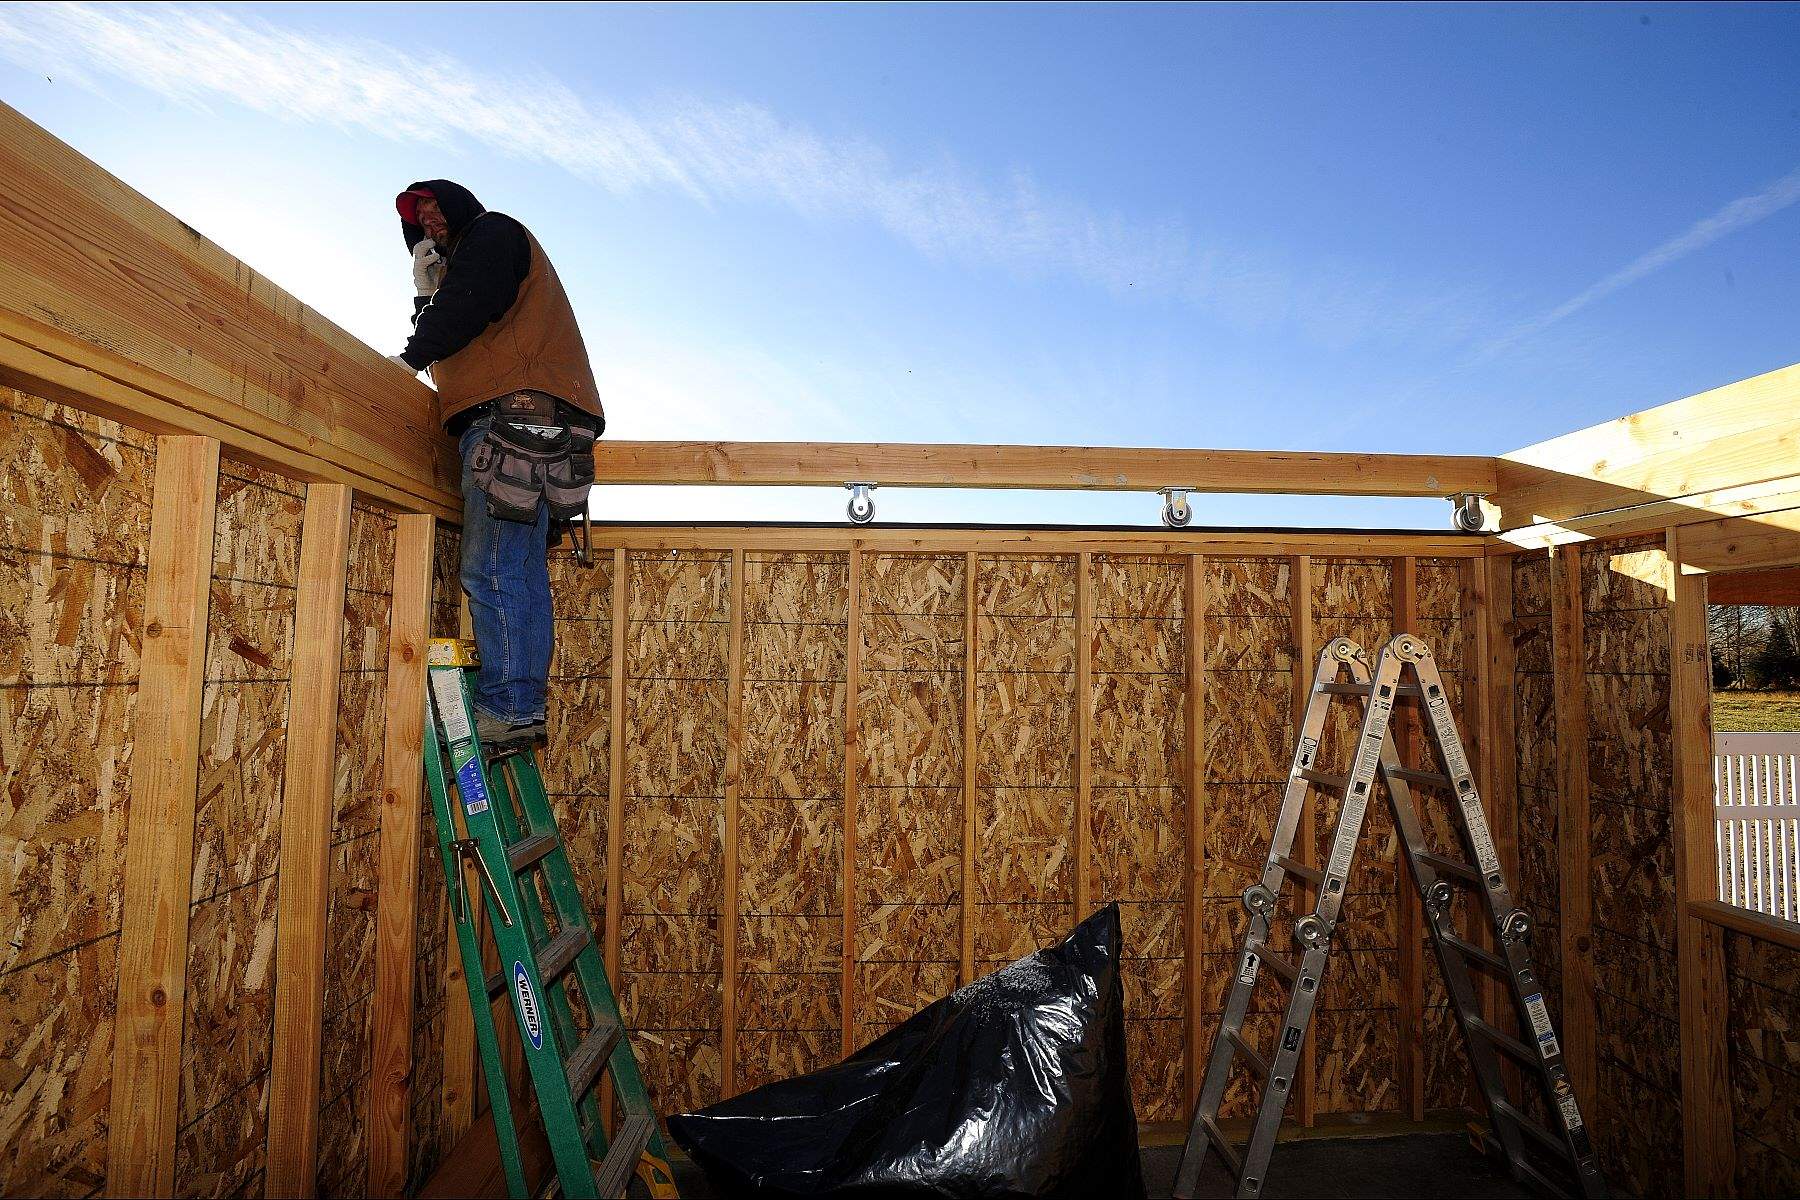
Squaring things up...
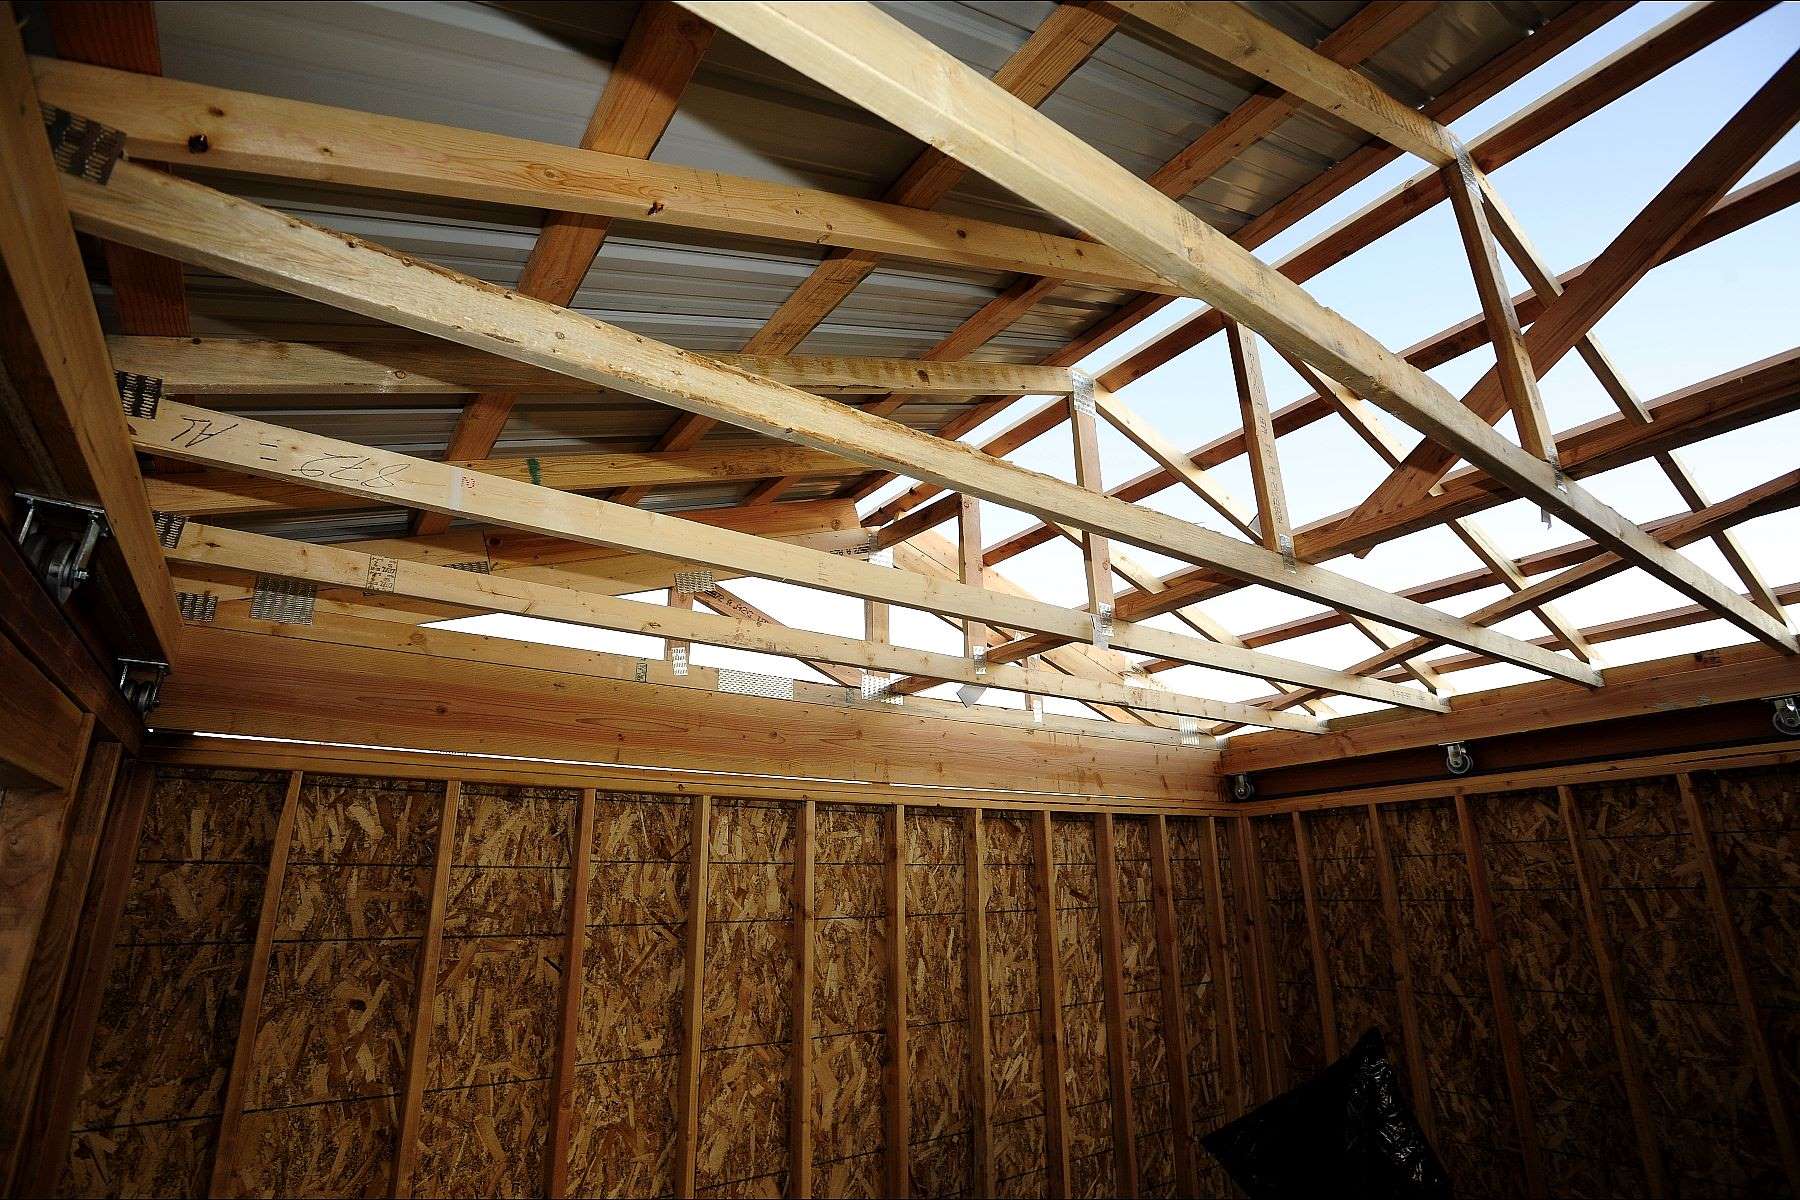
Trusses installed and cross members in process...
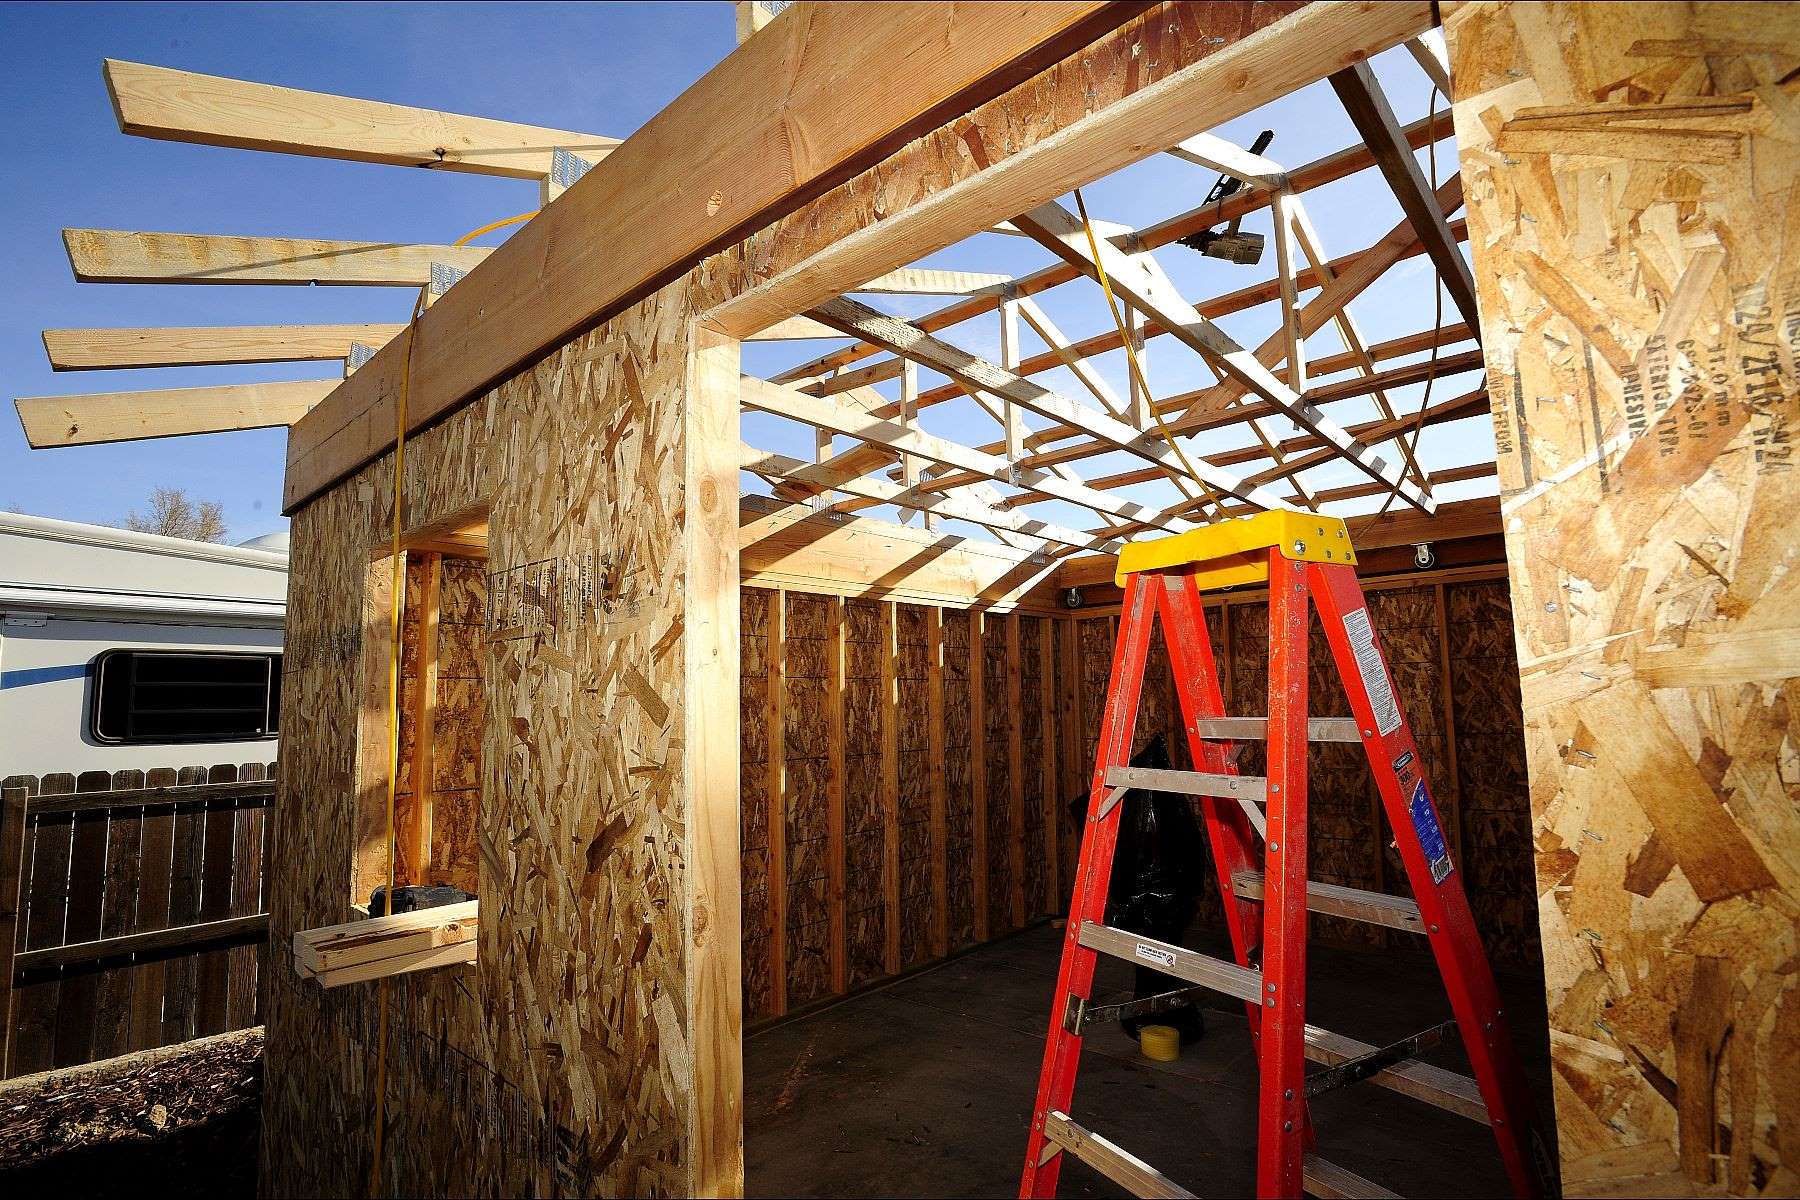
Looking through the future door at the trusses...
From a distance...
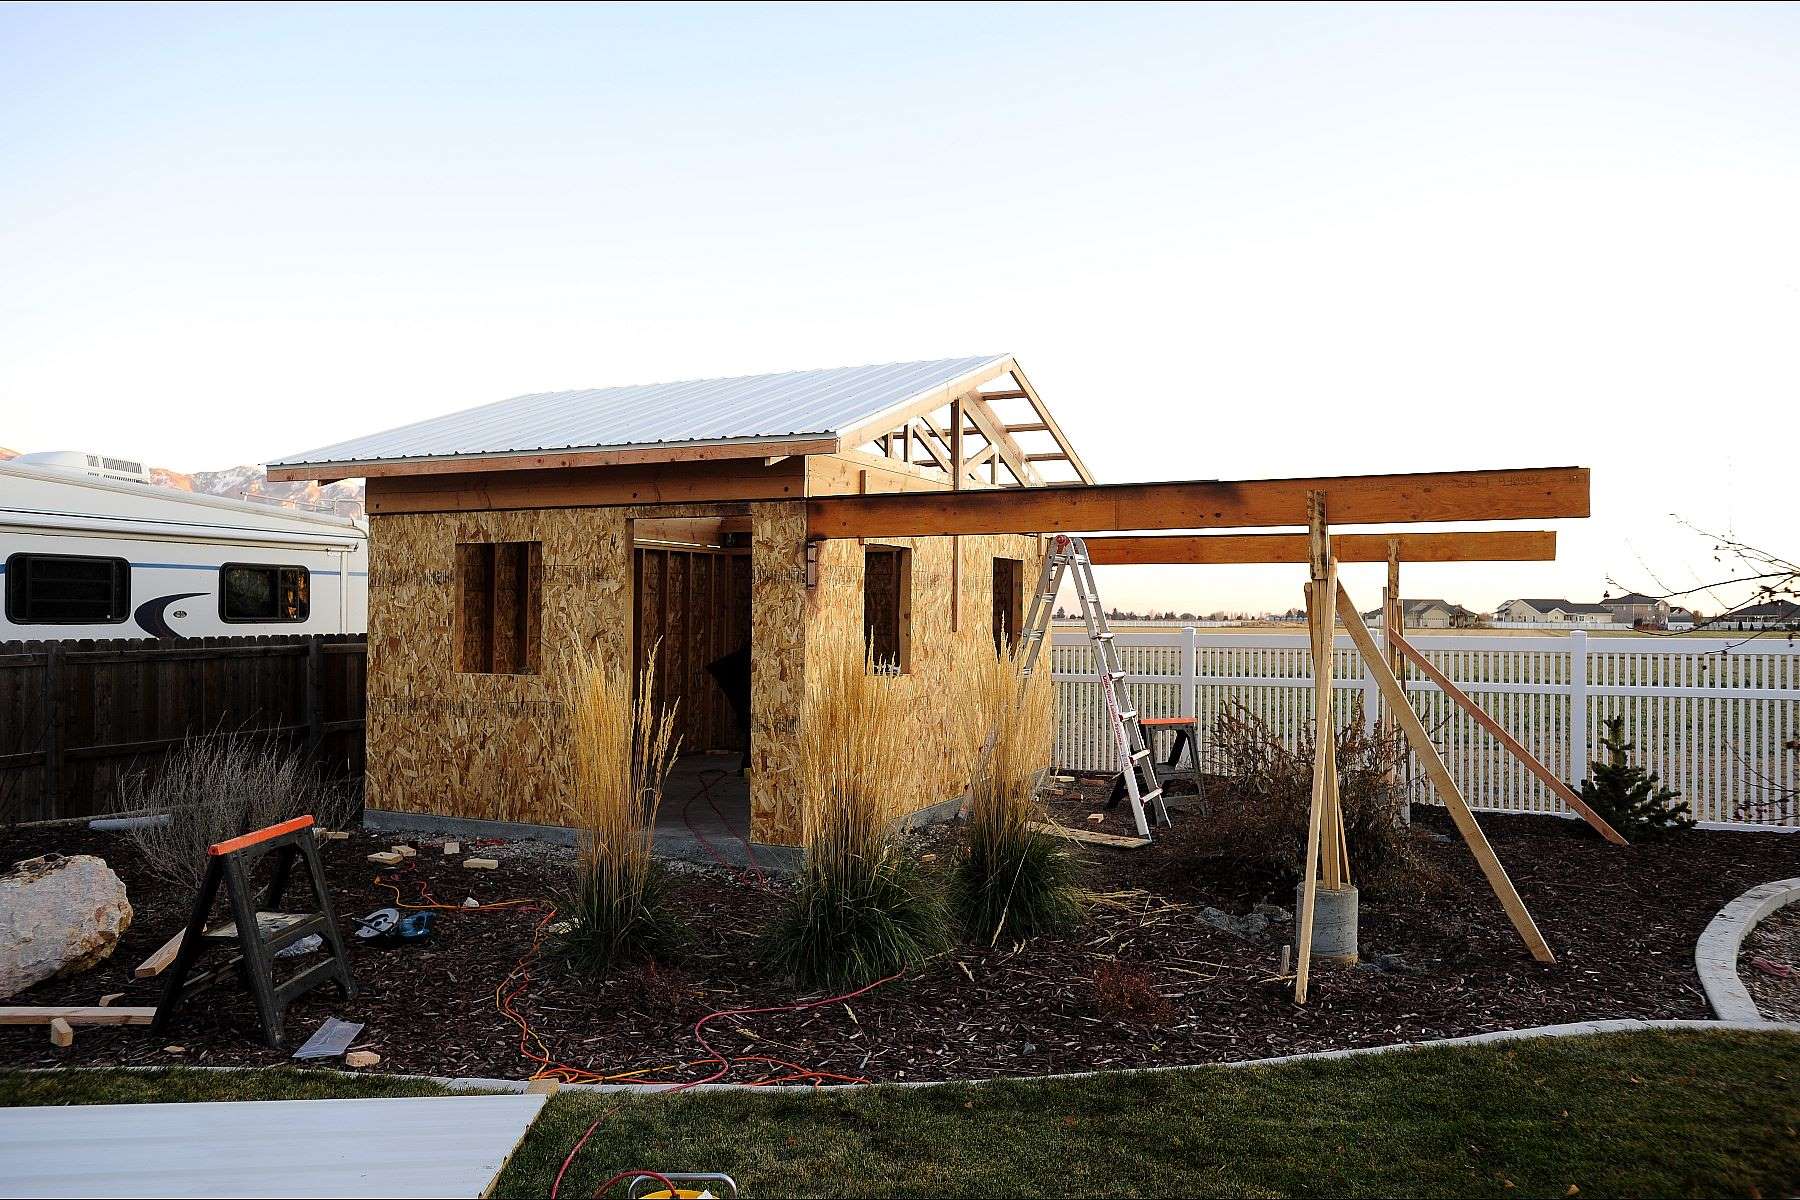
Half way done with the metal roofing...
Dusk, and only half a roof... DANG!
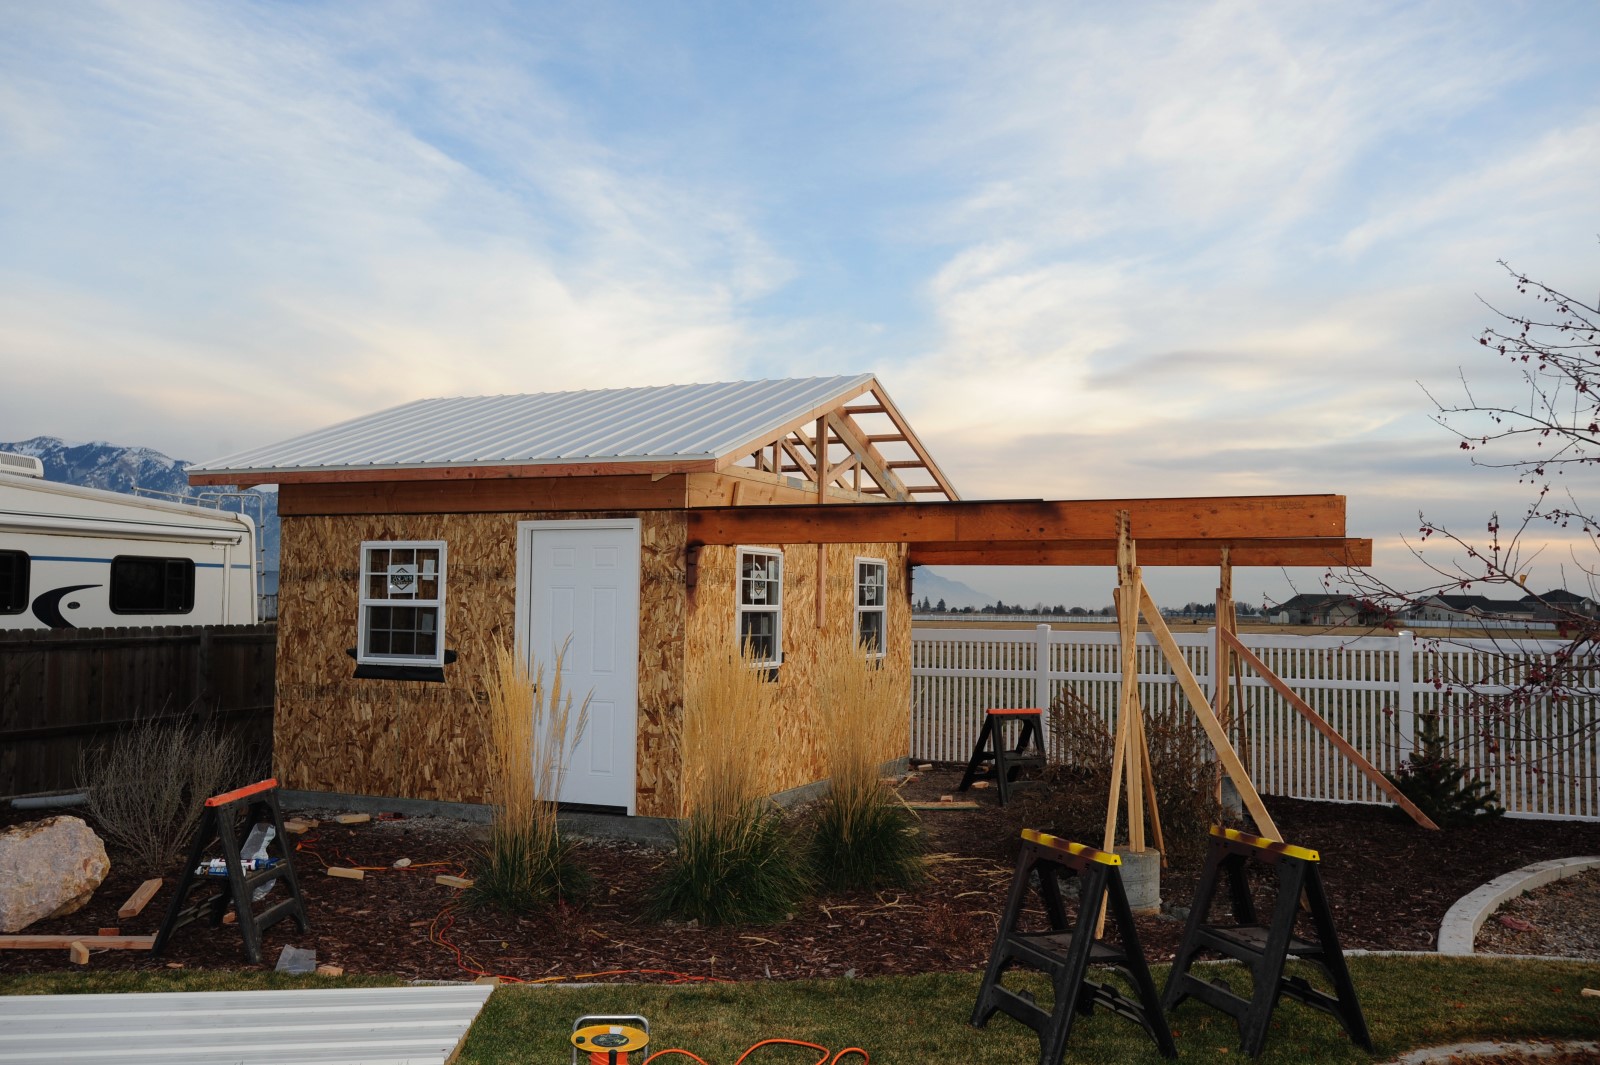
Door and windows installed..
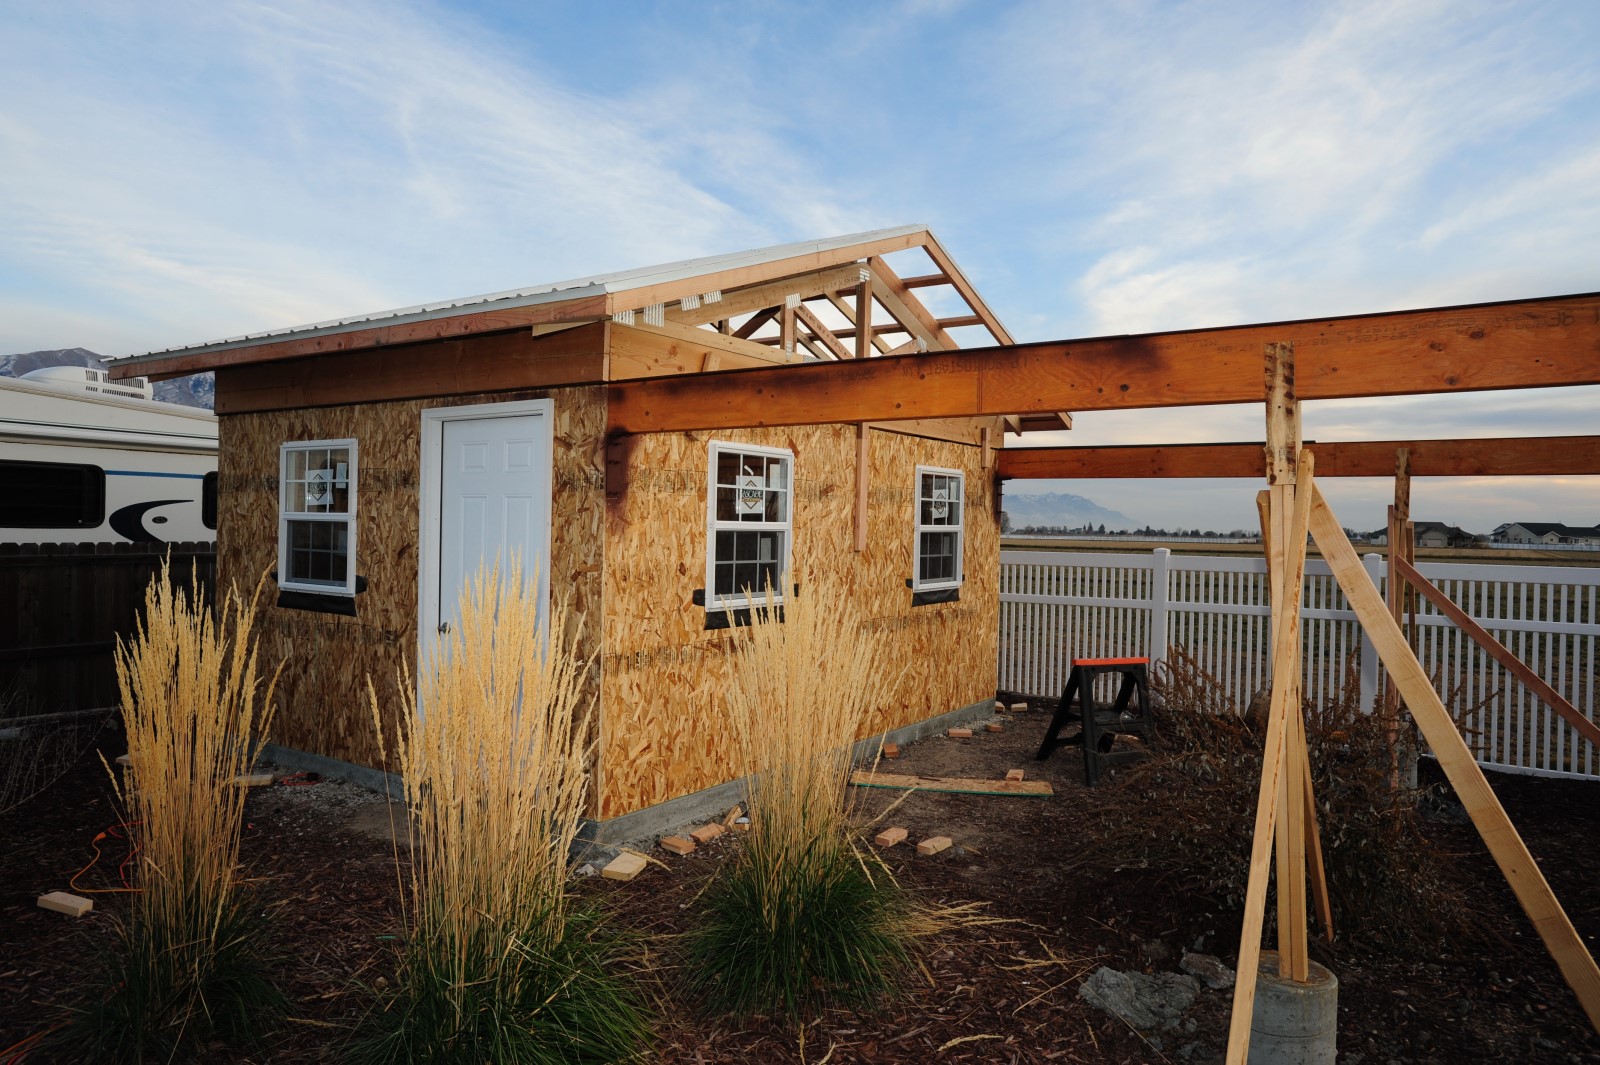
Another view...
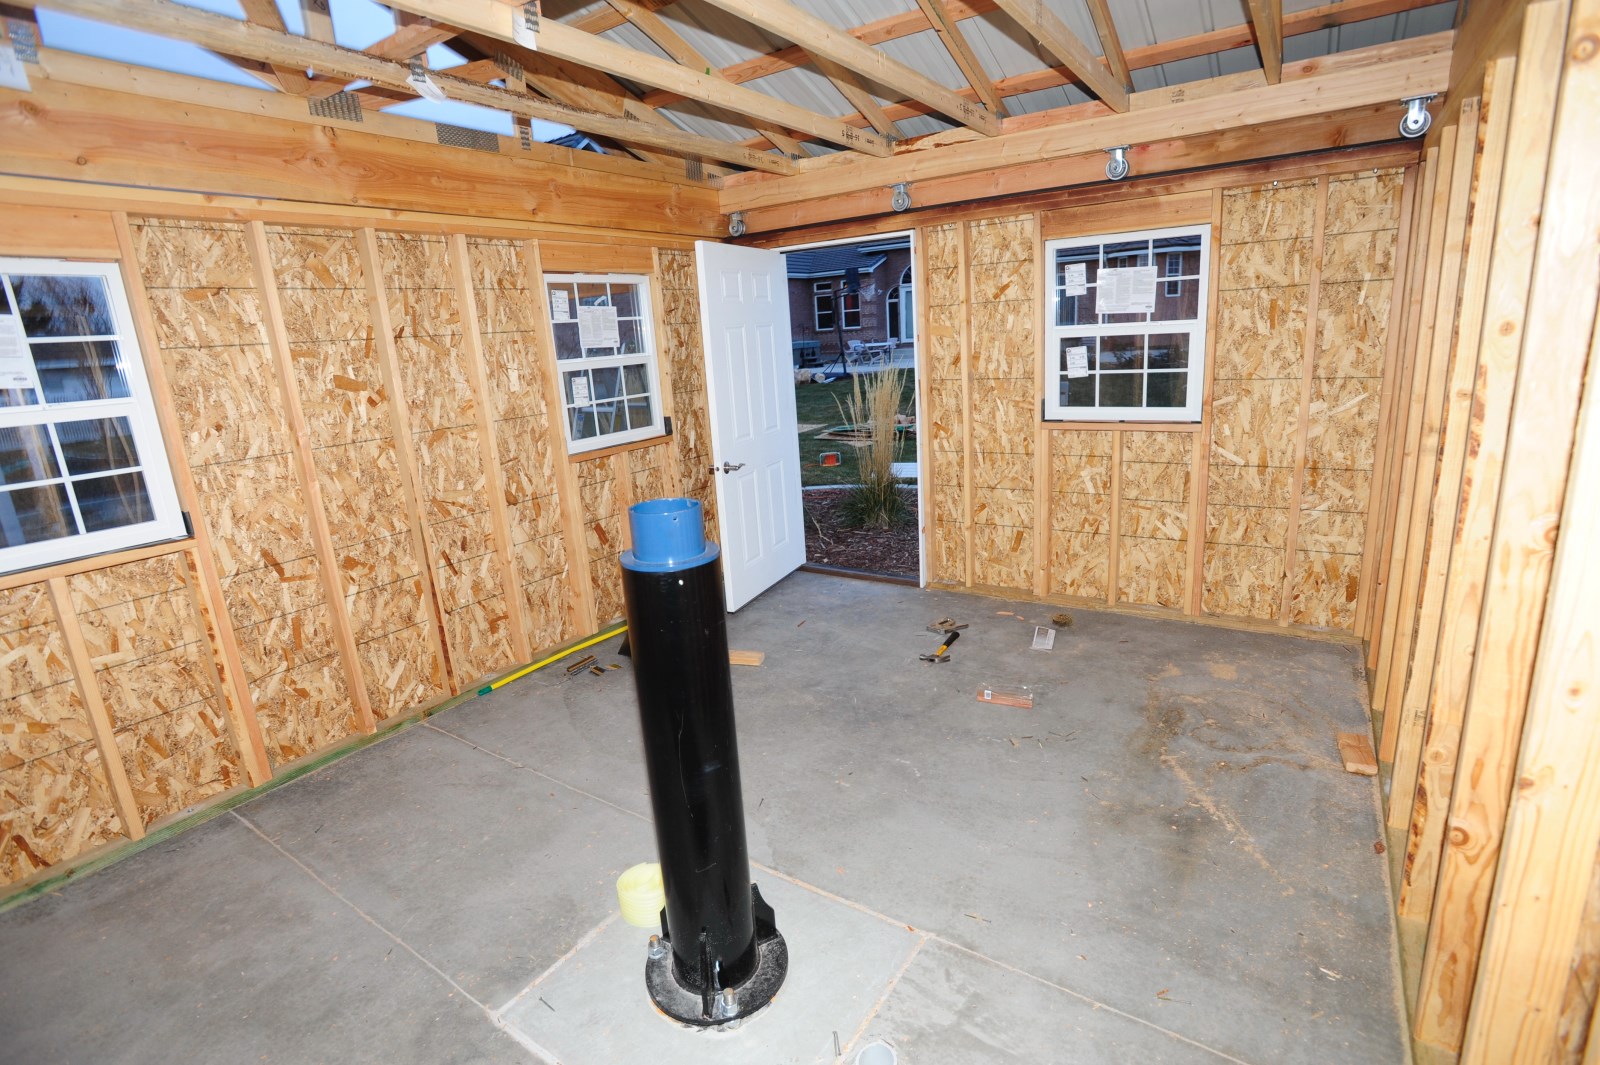
Inside, looking northwest toward my home...
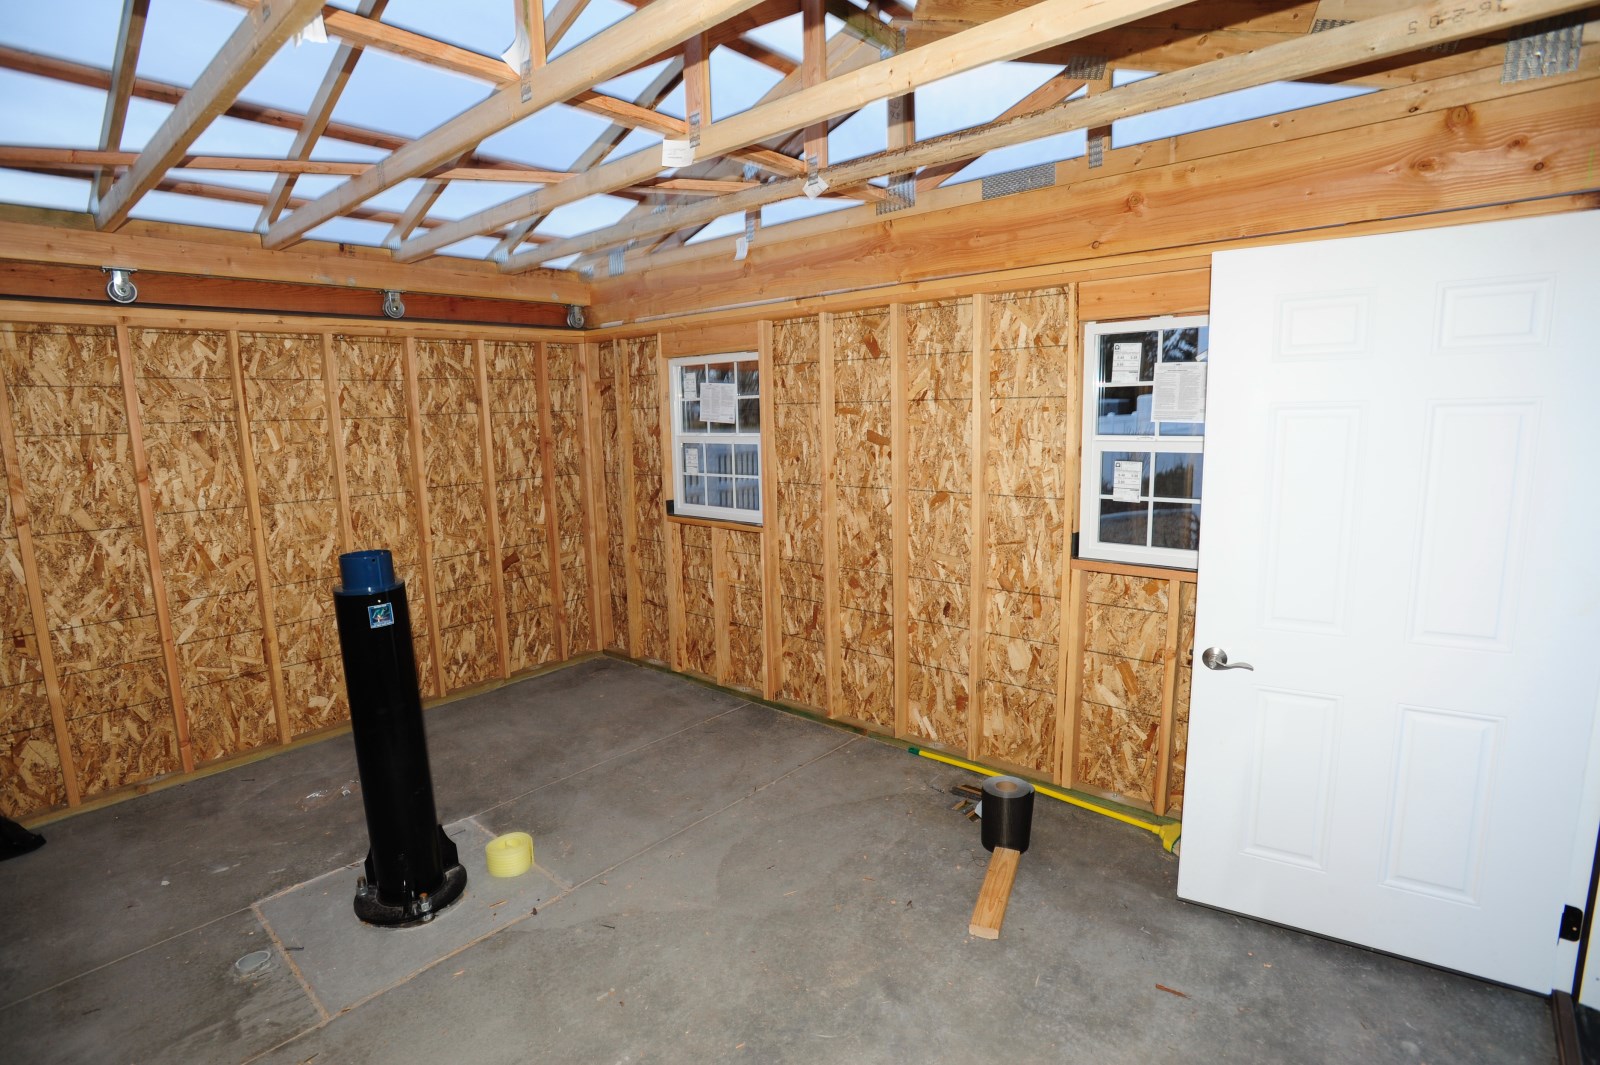
Inside, looking southwest at the still unfinished (until Monday) roof...
▶
Electrical
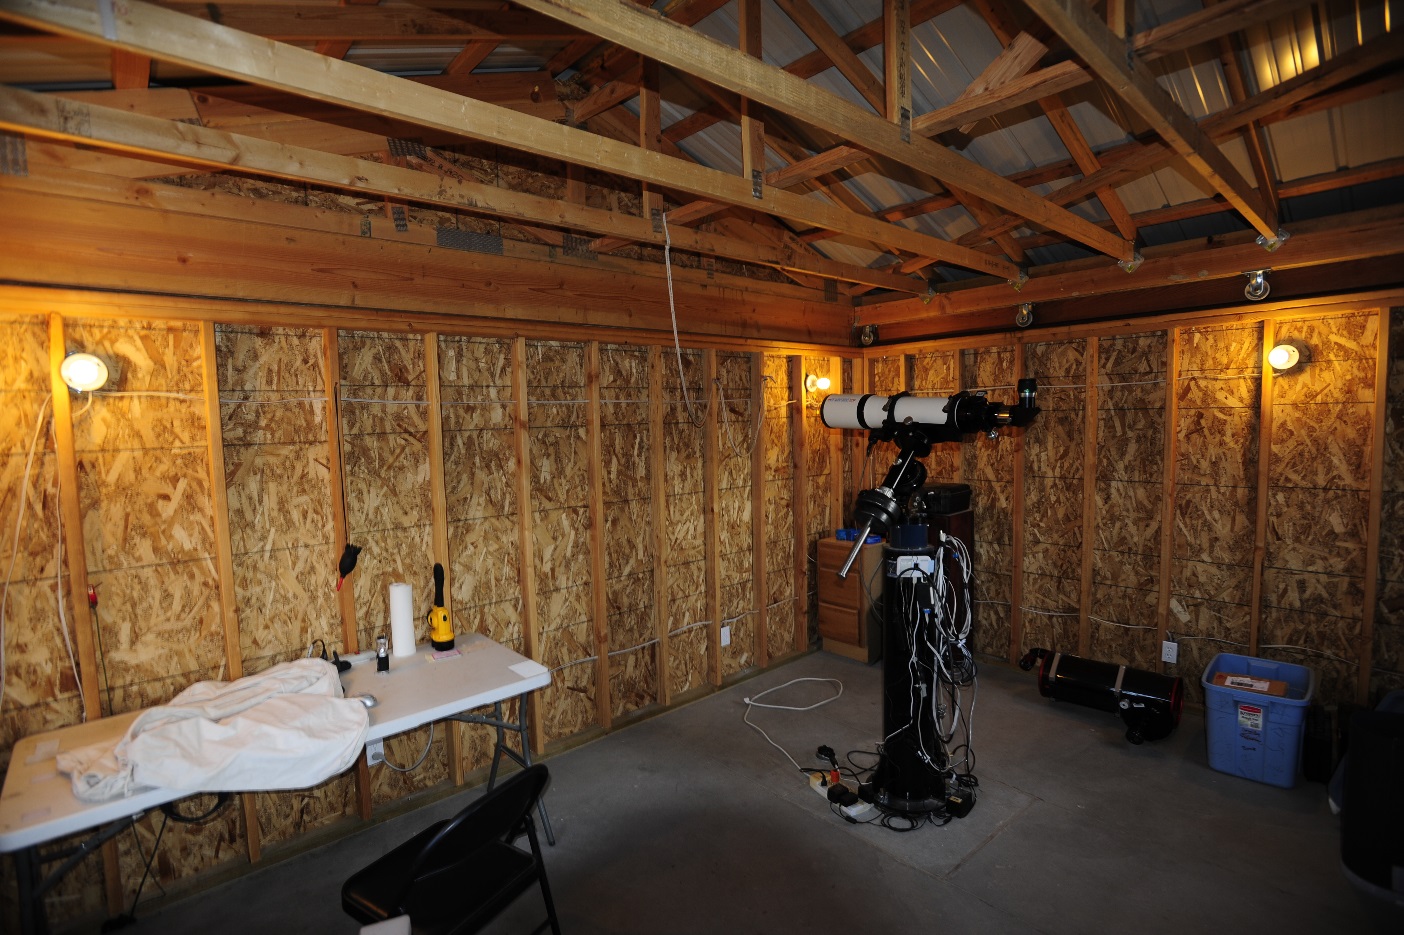
I just finished wiring the outlets, light fixtures, and switches. I put six outlets in, with two on each 16-ft wall and 1 on each 12-ft wall. I also added five lights: three are white lights that are wired on a single switch, and the other two are red lights that are on a separate switches. I plan to use one very low wattage red bulb on one switch, and a brighter red bulb on the other. I am also planning to use rope lighting around the bottom half of the walls, under a molding that will only allow it to illuminate the floor area. I still need to run power through the conduit from the house, and I also need to run power directly to the pier through the conduit that comes up through the concrete and emerges inside the steel pier. I plan to put a single outlet box on the pier and then run a surge supressor from it to power all the equipment. Data cables run through a 3" pipe under the cement floor. I am almost ready to install wallboard and move in. :)
▶
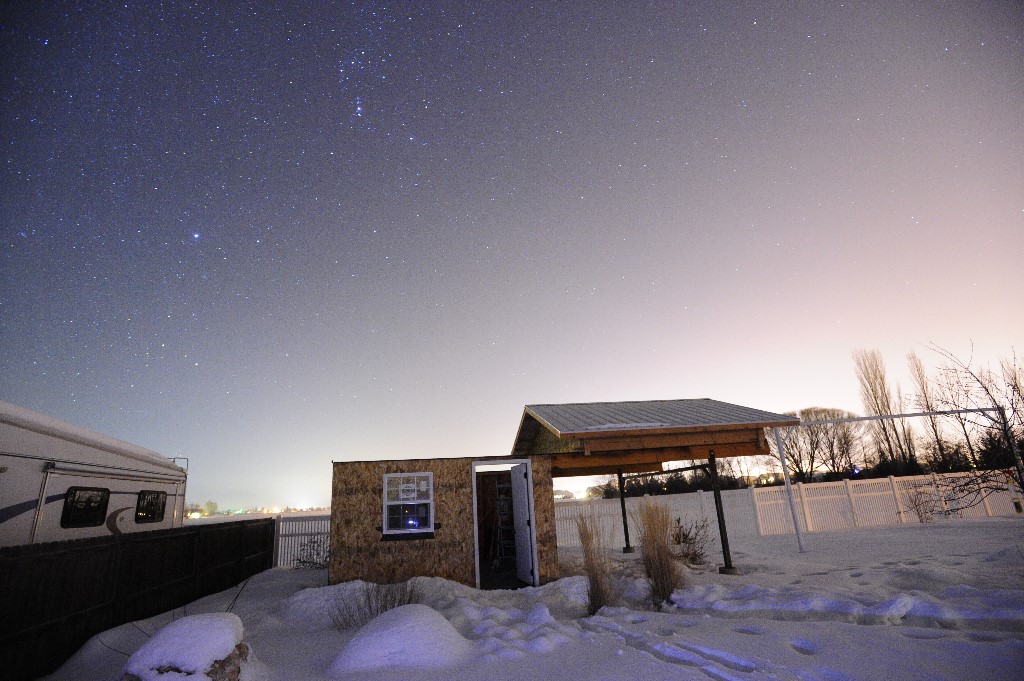
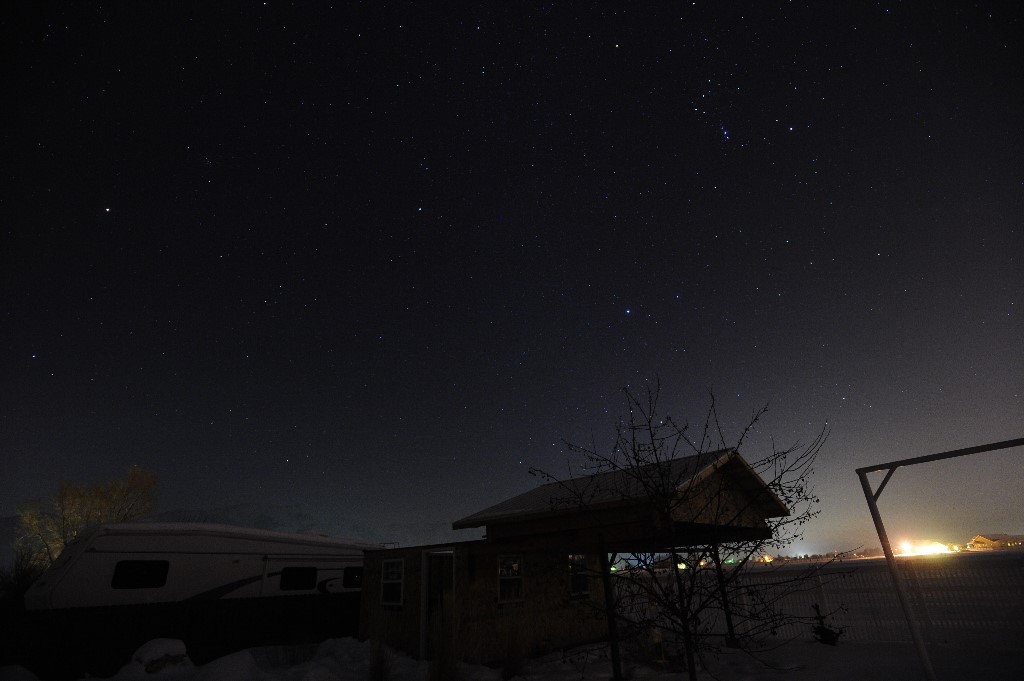
First Light
▶
Finished!
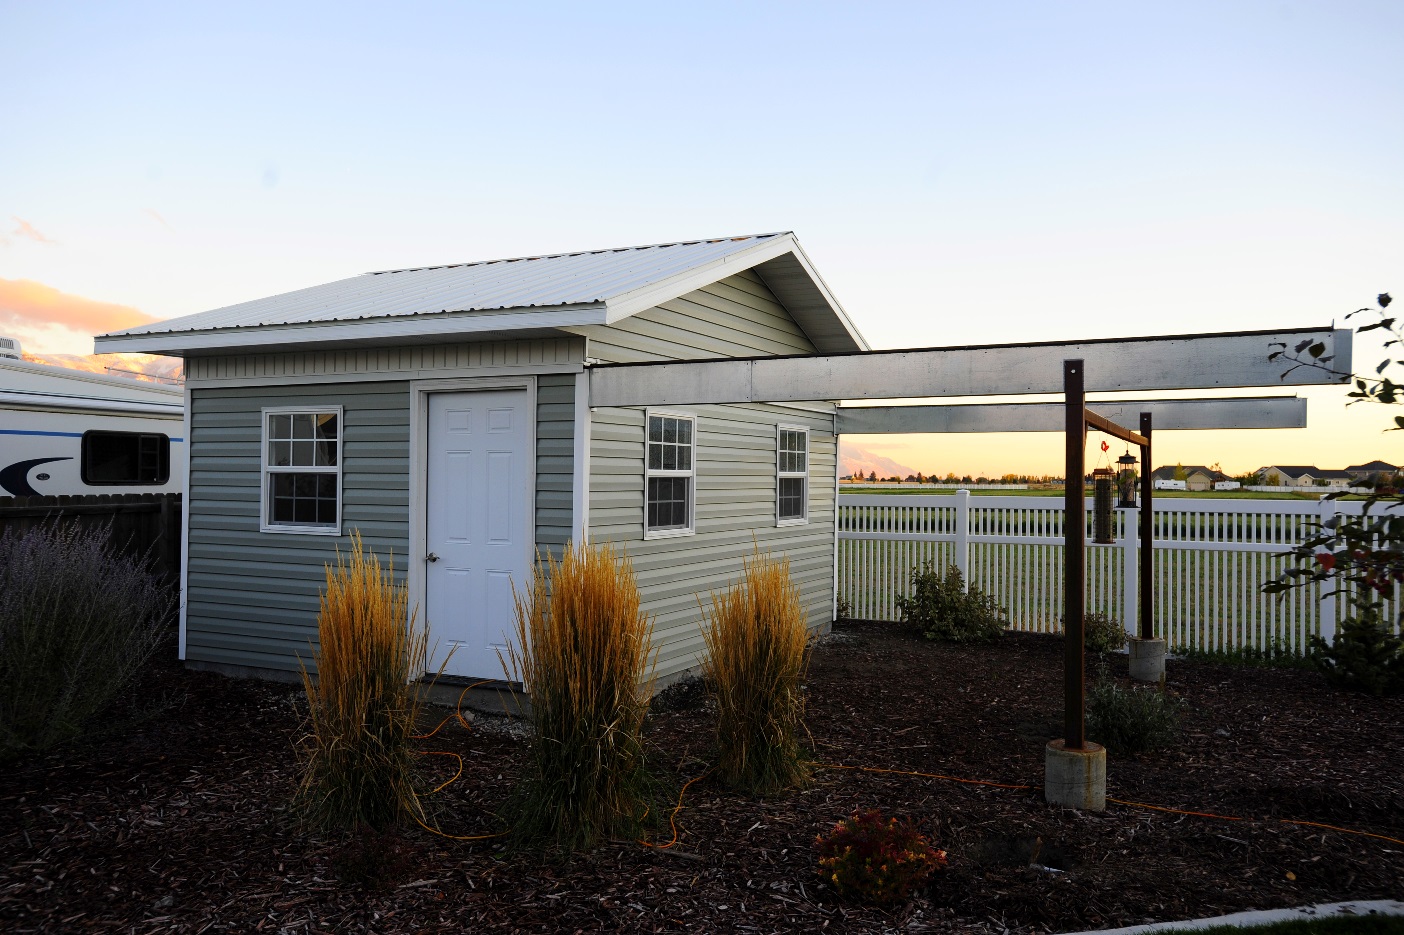
I finally got the exterior work completed on the observatory, just in time for winter. The siding is installed as are the soffit and fascia. I also encased the LVL beams with galvanized metal and sealed it all up with silicone. I am planning to add some white window boxes next spring and a few flowers (my wife’s idea), which will finish it off nicely.